How to Make a DIY Bouldering Crash Pad (2023 Guide)

Commercially made bouldering mats are affordable these days. But if you have the skills and can find the right foam and fabric, making your own can be even cheaper. Be warned – there’s a lot of cutting and sewing involved. And sourcing smaller quantities of foam can be tricky. These setbacks mean pooling skills and resources with friends can make this project more manageable. Make sure one of them has a sewing machine and the skills to use it! Sewing is the hardest part of this DIY project – hands down!
Purpose and Anatomy of Commercial Crash Pads
At a climbing wall, rope systems and specialized flooring offer some safety. Bouldering often involves climbing low, often highly technical routes – outdoors and without a rope. This means falls are common. Boulderers rely on spotters (other climbers who help to break a fall) and bouldering mats to mitigate injury when landing.
Different types of foams
Commercial bouldering mats use closed-cell foam, open-cell foam, and (sometimes) memory foam as cushioning. Typically, a quality mat will use multiple layers of different-density foams for maximum shock absorption. You will see homemade pads made with regular cushion foam. These are (probably) better than nothing but won’t protect you the way dedicated gear will. Quality pads slow down your initial momentum with their top layer of medium-density filler and further decelerate your fall with a softer layer of material underneath. This is why the best mats are made from two pieces or more of polyester urethane (PU) and polyethylene (PE).
A thick layer of the softer PU is at the core of a bouldering pad—the typical structure sandwiches this, top and bottom, with a thinner layer of firm PE. The PE slows down the initial impact. The PU takes over once the brunt of the force has dissipated. Then, the PE next to the ground offers a final layer of protection. Pads made from multiple layers of the best materials can perform better than cheaper ones, many times thicker.
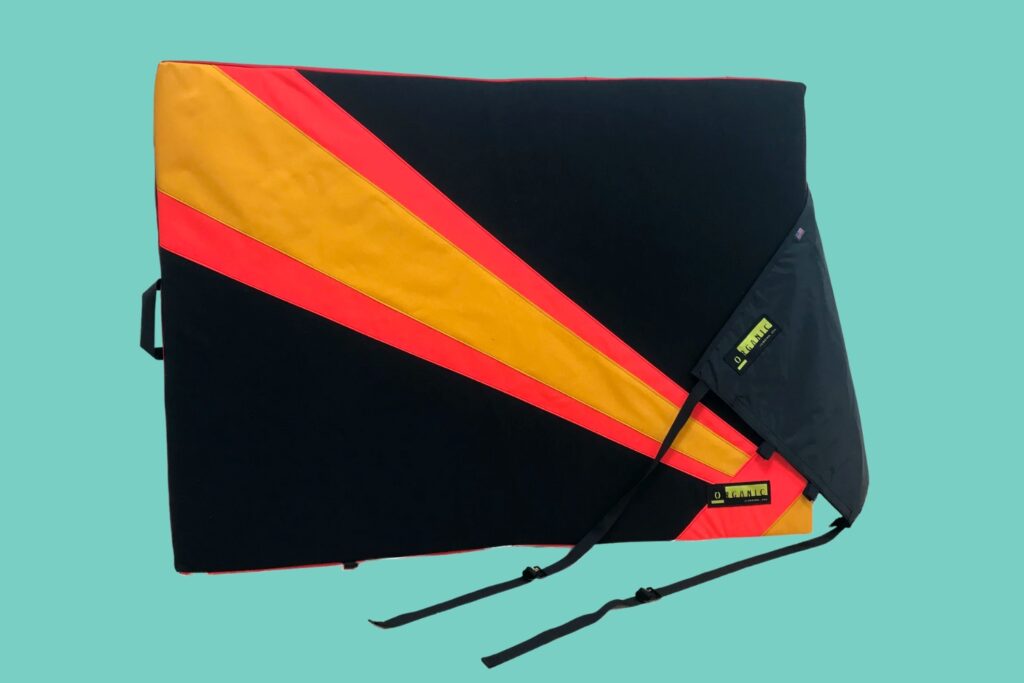
Nylon for structure
High-dernier nylon is the most common fabric for the outer of a crash pad. This material is durable and not too abrasive if finished correctly. It can also offer decent water-repellent properties, which prevent the mat from soaking and getting heavy. Extra touches on commercial mats include rubber on the four corners for durability, carrying straps, and folding designs that help with packing. These features are harder to achieve on a DIY crash pad.
Bouldering pads also take into account the often long walk-ins climbers will endure getting to a spot. A good pad is lightweight, easy to carry, and easy to pack. Landing pads will use folding designs like the taco, baffled, or hinged style to achieve these features. These all reduce the pad’s footprint and make it easier to carry. But they also add to the design and manufacturing costs. Most of us looking to make a DIY pad probably don’t expect too many quality-of-life features.
Not sure making your own pad is worth your time? Check out our selection of the best bouldering pads.
Making Your Own Pad
Pros
Cons

Safety Considerations
Climbing is a potentially dangerous sport. Granted, most of us risk little more than a sprained ankle and some bruising most of the time. But using inferior equipment compounds whatever risks we take. Nothing beats common sense for keeping you safe. Don’t rely on a sketchy-looking pad when taking on a challenging, new route.
The safest pads are probably those bought from reputable climbing companies. Making your own from an old cushion with cheap materials is a recipe for disaster. Pillows are designed to slowly compress to the shape of your head and neck over eight overs of sleep. They are not ideal for stopping a human body falling at speed. Get proper materials!
Some dirtbags send hard problems with nothing but a cheap mattress under them. We don’t recommend this. Get familiar with the design principles of commercial mats before making your own. And have some experienced rock-climbing friends look over the finished article before putting it to the road test.
How to Make a Crash Pad
You’ll need a few items to put a homemade crash mat together. The foam pieces are probably the hardest to find. Most cities have a foam supplier of some kind. Check your local listings. Quality nylon fabric shouldn’t be too hard to find, but many wholesalers only sell in large quantities.
You’ll need quality scissors, nylon thread, a decent sewing machine, sharp, heavy-duty needles, and potentially some zippers or velcro. With that, you’ll have everything you need. Except perhaps the patience and sewing skill – only you know if you have that.

Materials
Foam
PU, medium-density foam will make up the bulk of your filler. Often the best and easiest way to ensure you buy the right stuff is to bring some foam from a commercially bought mat to your supplier. Layering different densities of foam is the best way to create shock absorption. The soft foam helps take the sting out of shorter falls. And the denser layers help with the jarring impacts of higher falls.
Fabric
This shouldn’t be too hard to find. Nylon’s toughness is rated on a Dernier scale. The higher the Dernier value, the more durable the fabric. This is why nylon is used for outdoor equipment and clothing. Nylon webbing makes the best strap material and is also generally inexpensive. It can be tough to sew, however.
Sewing Machine and Needle
You’ll need to track down mechanical help with the sewing. And a regular needle designed for cotton or other household fabrics won’t be up to this sewing. A heavy-duty, sharp needle designed for thicker, stiffer fabrics will be required if you make a durable pad.
Zippers, Velcro, Fabric Glue, Hardware
To make the foam removable (and the cover washable), you’ll need a zipper or velcro on one side. You might also choose to put eyelets into the fabric and lace it together with a paracord. All this, and any hardware loops and buckles you need for straps, can be bought at an embroidery shop.
Step-by-step instructions
Step 1 – Cut The Foam
Once you’ve decided on the pad size you want, it’s time to mark up and cut. Chopping the foam will be a lot quicker if you use an electric carving knife. But any decent serrated kitchen knife will do. Make the core PU piece and then use it as a master template. Keep the blade at 90 degrees to ensure your edges are squared off. Depending on the thickness of the foam, several passes might be required.
Good mats use multiple layers of different densities. If you’re layering two sheets on top of one another, put the first sheet cut on top of the second to check the dimensions before cutting. It’s easy to drift off the line slightly. Now is the time to correct any errors.
Step 2 – Cut the Fabric
Your fabric needs to be at least two inches wider than the footprint of the foam for every panel – more if you’re making a thick pad. This fabric needs to cover the entire surface area. Using one piece of fabric is probably the most straightforward solution here. This lets you wrap the foam like a Christmas gift and roughly stitch or lace it all together – the dirtbag special.
If you’re skilled with a needle, complex two-piece designs look better and are more durable. For an example of how to sew multiple pieces of nylon into a pad cover, check out this video from Organic.
Step 3- Sew it Up
If you’re making a multi-panel cover, pin/glue all the pieces together as though you were going to assemble the pad inside out. Now, double or triple-stitch every seam, preferably using backstitching, leaving one side open for your velcro or zipper. Next, sew in the velcro or zipper on the side you’ve left open. Turn the cover the right way around and stuff the foam inside.
If making a dirtbag special, fold the fabric around the padding like you are wrapping a gift. But remember to fold those two pieces of triangular fabric under the seam running down the middle before putting in the final stitches/cord. This method works best if you install steel eyelets along the inner edges of the fabric.
