How to Break In Climbing Shoes: The Definitive Guide (2024)
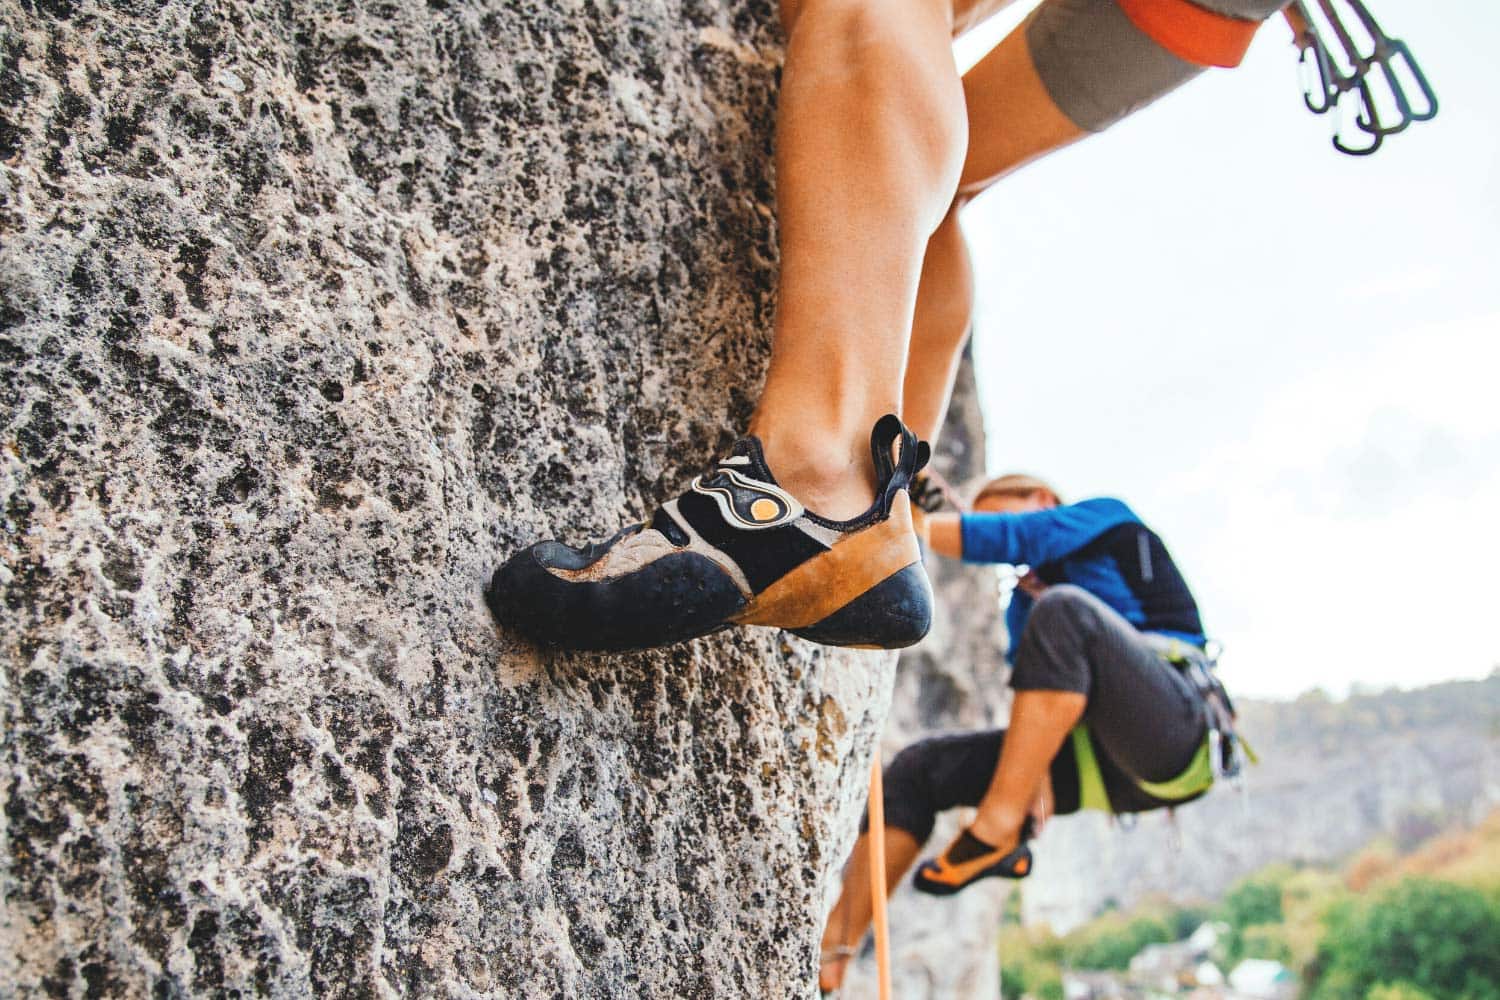
Climbing shoes are an essential piece of gear for the avid climber. Choosing the right model for your anatomy, type of practice, and personal preferences is no small feat. So congratulations on finding shoes that you love and will help you get better or simply make climbing a little bit more enjoyable.
However, finding great shoes is not enough; they must fit well. Breaking in your shoes is an essential step to get there. It’s the process of adapting your shoes to your feet to reach the perfect balance between comfort and precision. Indeed, you could be tempted to go for one size up to skip this annoyance altogether. However, you would lose in precision, eventually decreasing your edging, smearing, and hooking capabilities.
Don’t worry, though. This guide will present the best methods tested by our team to break in new climbing shoes. To demonstrate that they work, I purchased a brand new pair of Pinks (Five Ten NIAD Lace) half a size too small. Let’s go!
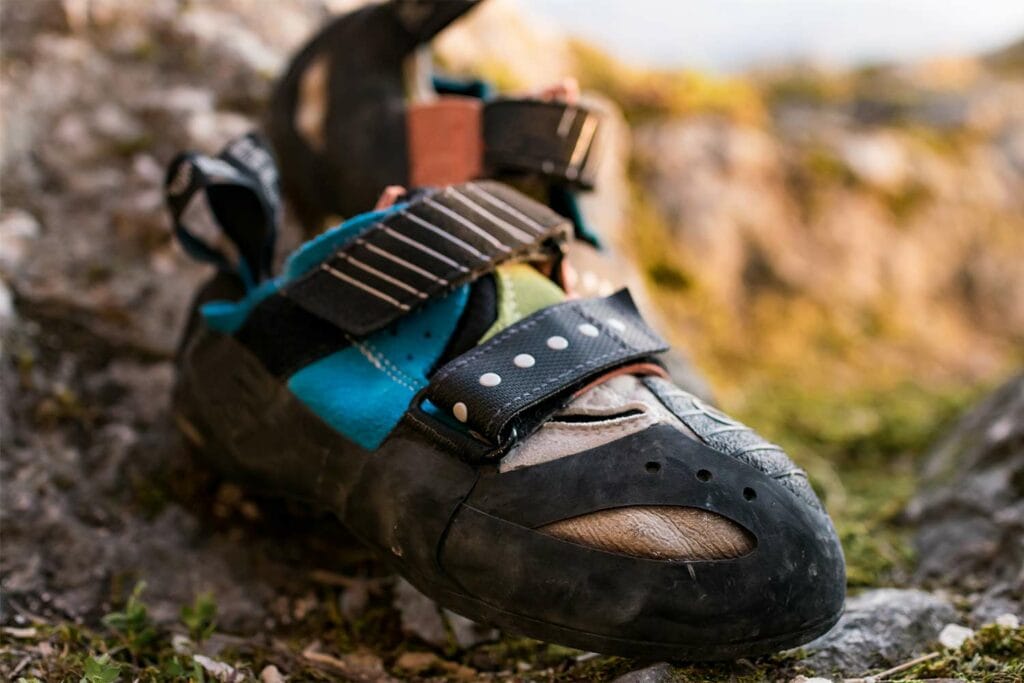
5 Tried and True Methods to Break in Your Shoes
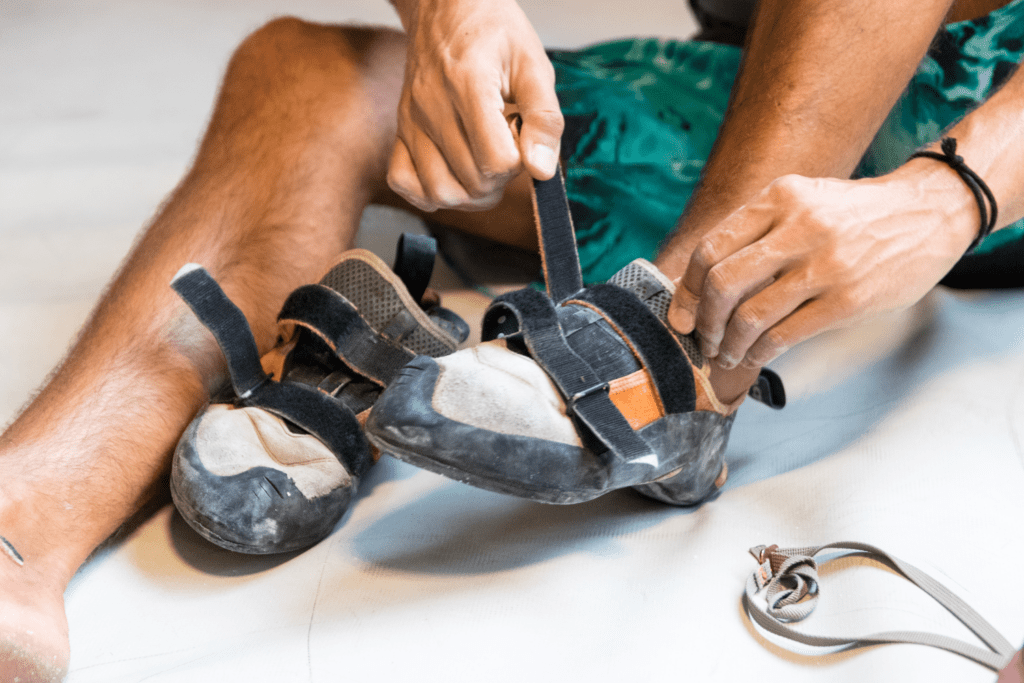
Stretching rock climbing shoes comes with a lot of trial and error. Some methods may work well while others don’t. It will take time and patience to make sure your shoes fit your feet. The break-in period should be relatively quick. However, if you have larger feet or a tighter new pair of shoes, the process may take a little longer. Be patient as the break-in process is a labor of love, and mostly focuses on the stretching of the shoe upper, rather than the rubber itself. Here are 5 tried and true methods for breaking in climbing shoes.
1. The Sock Method
To quickly and successfully stretch a new climbing shoe, apply adequate heat. The easiest way is to simply wear them. The more you wear your climbing shoes, the quicker they will mold to your feet. Start climbing in your new pair of shoes as much as possible.
To further shorten the process, try wearing thick socks. Wear socks inside your shoes around the house while watching a show, reading a book, or finishing up your workday. You can also choose to wear socks during your first few sessions at the climbing gym or at your favorite crag. This method will quickly make the shoes stretch, eliminating areas that rub or are too stiff. Your shoes should be successfully broken in after the first few climbing sessions.
Please note: It’s preferable not to walk around in your climbing shoes, especially if you own an aggressive model. Walking around in them can destroy the shape of the shoe. Also, it’s important not to flatten the sole, so if you choose to wear them around the house, try to keep your body weight off of them as much as possible.
2. The Heat Method
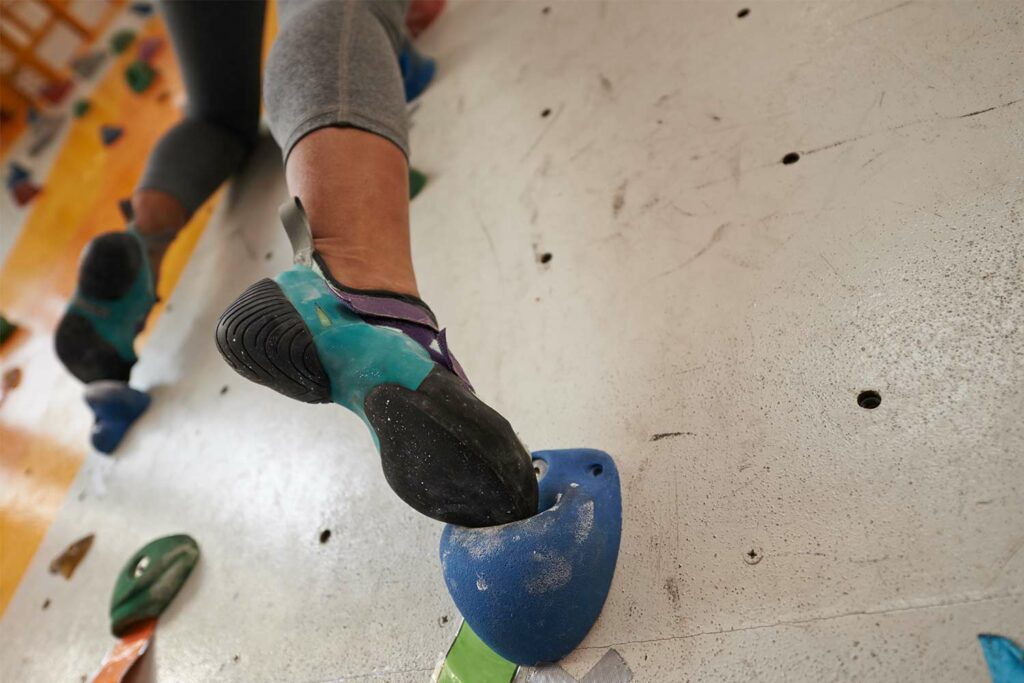
Use a heat source to break in your pair of climbing shoes! It’s best to use this method while they are on your feet. You can also do without putting them on, but wearing them will help the break-in process be more customized.
For the heat method, use a hair dryer, blow dryer, or another heat source to warm up the material on the shoes. The hot air will soften both the rubber and leather. Using a blow dryer will allow you to apply direct heat to certain areas of the shoes or turn off the heat if areas get too warm (avoid applying too much heat as it could damage the shoe).
Some people use an oven for this method, but if you’re not careful, it can cause the adhesive to melt which can ruin the shoe. Another way to apply heat is to place the shoes in direct sunlight for a few hours. Once warm, you can put the shoes on and stretch them by moving.
No matter the method used, as the shoes cool, they should have stretched and been given the ability to be remolded to fit better for the climber. Repeat this method as many times as needed and they should be immediately ready for your next climbing sessions.
3. The Plastic Wrap Method
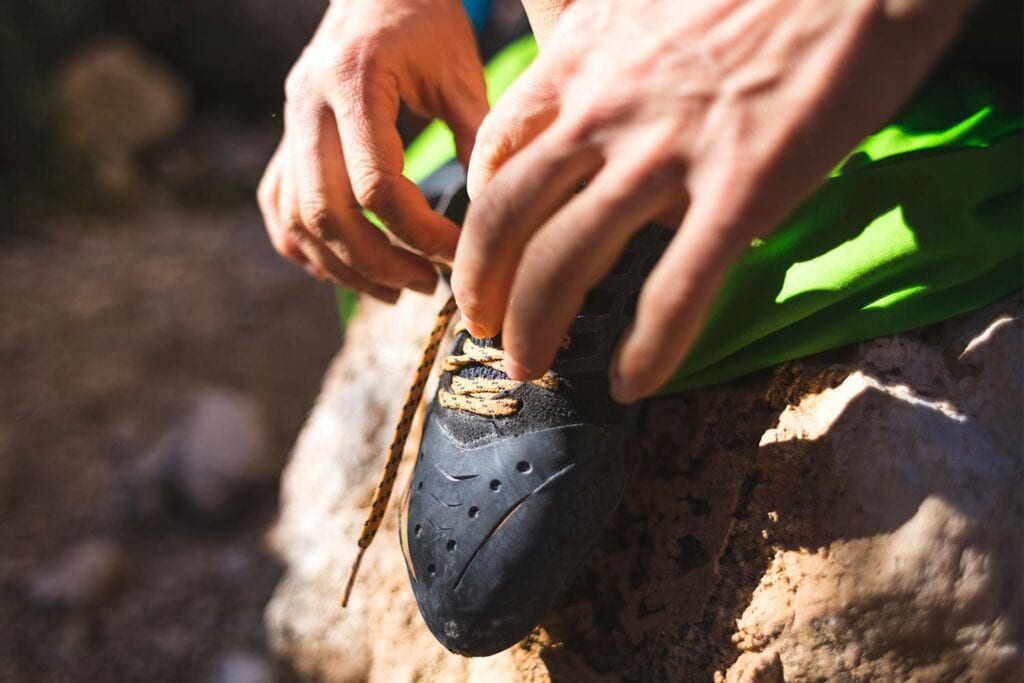
If your pair of climbing shoes are too tight to even slip on, try the plastic wrap or saran wrap method to break in climbing shoes. A plastic bag will also work here.
Start by wrapping your heel and foot in plastic. You may only need to wrap the heel, but wrap the whole foot if you feel it’s necessary. This will help you to slip on the shoes and act as a barrier to decrease friction or excessive rubbing and blisters while they are on your feet.
Wear the saran wrap to insert your foot into any tight shoe. The plastic wrap will allow the shoe to mold to your foot shape with a barrier of protection between the shoe and your feet. Climb a few sessions with the plastic on and your shoes should be broken in quickly. This is an effortless and effective way to break in climbing shoes.
4. The Hot Shower Method
This method uses hot water to stretch climbing shoes. The hot shower method is the best option for stubborn shoes. It works best on leather shoes compared to synthetic ones. Start by putting the shoes on your feet. Use plastic on your heel for additional protection if needed.
Get into the bath and turn on the hot water or step into a hot shower. Wiggle your feet around while the leather is warm, bending your feet, ankles, and toes. Stay in long enough for the water to soak your shoes and warm up the material.
Then turn off the hot water and let them dry halfway so they’re still damp. Now put the shoes back on, if you took them off, and wear them or climb in them.
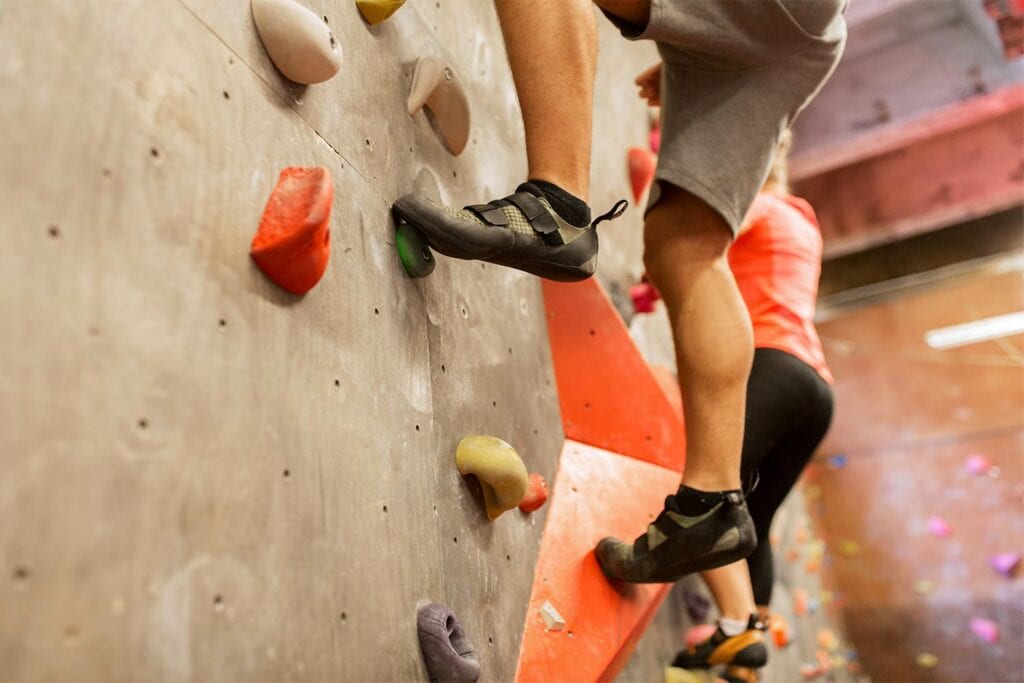
Climbing gyms don’t often let wet or damp shoes on their walls, so ask the gym before climbing or try this at a home or outdoors. During your climb, move your feet around and wiggle your toes often.
Once you’ve moved around in them, take off your shoes and stuff them with newspaper. This will keep them from collapsing and ruining the hard work you just put into them. Let the shoes dry and once completely dry, put them back on. They should have stretched and will be more comfortable to wear.
Please note: If you have a leather shoe, the dye may bleed out or onto your feet when you get them wet. The dye should wash off and the color of the shoe may change or bleed, but its effectiveness won’t change.
5. The Freezer Method
The freezer method is ideal for stretching climbing shoes in a small amount of time. To implement the freezer method, grab two-gallon plastic bags. Two zip-lock bags will work great. Fill the bags with just enough water to be roughly the size of your feet. Seal the two plastic bags tightly and place each plastic bag into a shoe.
Place both shoes inside the freezer overnight. As the water freezes, it expands. This expansion should help stretch out the shoe upper. Remove your shoes from the freezer and let the plastic bag thaw completely. before removing
Remove the water-filled bags from the shoes and put your shoes on. This should have created some extra space. Repeat the process if you’re not satisfied with the stretch.
Please note: This process doesn’t rely on your feet, so it may not be quite as tailored to your feet as the other methods.
Important Considerations
There are a few things to clarify to make sure you have the right expectations when starting to break in your shoes.
Breaking In vs. Stretching
For the sake of simplicity, we’ll use these two terms interchangeably. For us, breaking in shoes means reaching the perfect fit. In some cases, this means just making the shoes more flexible, while in others (like here), it involves stretching the materials to compensate for downsizing slightly too much.
Sizing Realistically
Climbing shoes stretch in volume and width as the upper loosens and expands. However, they do not stretch in length. Indeed, the rubber outsole and rand of a climbing shoe determine its length. Rubber stretches, but not as much as the upper materials.
If you downsize your shoes too aggressively (read painfully), no amount of breaking in or stretching will stop the torture of wearing them on the wall. Things will get better, but if the sizing is incorrect, you may never get this ideal fit that enhances your practice.
In short, you want a snug fit with a bearable amount of discomfort. There should be no pain. Advanced climbers can bend this rule for aggressive shoes to get a top-notch performance fit, but overall, that’s a bad idea for most climbers.
Materials and Construction
Climbing shoes with leather materials stretch from one to two full sizes depending on the brand and model. Indeed, leather is a natural material with a high level of flexibility and pliability.
On the other hand, synthetic shoes will stretch little, from half to one full size, again depending on the shoes. Note that synthetic climbing shoes are more sustainable and do not harm animals, unlike their leather counterparts. They may not be the most popular shoes, but are the most ethical.
Last but not least, lined leather shoes will not stretch as much as unlined leather shoes (about half a size maximum).
Closing Thoughts
As you’ve seen in this guide, wearing your shoes off and on the wall is likely the most simple yet effective solution to break in your new shoes. The process may take a few days, but you will get there, provided you’ve picked the correct size. The result may also vary depending on the model.
What method worked best for your shoes? Let us know in the comments (indicate the method(s), model, and the time it took).
Last but not least, now that you’ve broken in your climbing shoes, it would be a shame to throw them away because they are damaged. Resoling is the cheapest alternative to buying new climbing shoes. The best part? You will get a fresh, revamped pair that’s already broken in.
