Trad 101 #3: Anchors and Multipitch Climbing
Note: this text was originally published by Adam S. on an earlier version of this site.
A friend recently asked me to recommend a moderate multipitch sport climb. After five years of climbing, I could think of only two such routes under 5.10. For many climbers, learning to climb trad unlocks the vast majority of quality moderate and multipitch routes.
Building anchors is a vital skill that any trad climber must have. Below, I’ve detailed methods to build anchors and tips to help you safely discover multipitch climbing.
Note that what I will describe are “real world” tactics. It’s not a rigorous course that will detail building elaborate anchors for guiding all-day top-rope sessions. To climb efficiently and safely on a long route, anchor building needs to be a quick process, done with the gear remaining after building the previous anchor and protecting the pitch. Furthermore, rock features available for an anchor are different on every pitch of every climb. To enjoy a safe day on the rock, a climber needs to be able to deal with a variety of anchor situations.
Building an anchor can seem like a complicated and scary proposition to a new trad climber. But with a bit of practice, it’s usually relatively straightforward.
In general, an anchor should consist of three quality pieces connected by a sling or cordelette. As always, the pieces should be placed to be loaded in the direction they will be weighted. The sling or cordelette can be used in different ways that I’ll detail below, but there should be a master point connecting the individual pieces. The master point is then what you clip into before being taken off belay.
Master Point: Magic X vs. Knot
If you aren’t familiar with the Magic X, this short instructional video will get you up to speed.
A knot master point has a few big advantages and disadvantages. Using a knot does not allow the anchor to be self-equalized. This means that one piece may bear most or all of the force. However, if an anchor piece blows, the knot does not extend, and therefore the system is not shock-loaded. Also, a knot prevents rupture of the sling or cordelette from causing the entire anchor to fail. To build a knot, clip the sling/cordelette through all anchor pieces, grab the slack between each piece and pull tight. Then simply tie an overhand knot, pulling through the loops for the master point.
A Magic X ensures the anchor will be self-equalized. This means that no matter where the master point is located, each piece in the anchor will bear the same weight. However, if a piece fails, the system is shock-loaded. If the sling fails, the entire anchor fails.
I’ve used both the knot and Magic X master point methods. I prefer the Magic X with two slings to ensure redundancy. If you have quality gear in the anchor, there should be no issues with pieces blowing. Because tying a knot uses more slack, it often requires longer slings or cumbersome cordelette. If the anchor is weighted, it can be a time-consuming pain to get the knot out, illustrating another advantage of the Magic X.
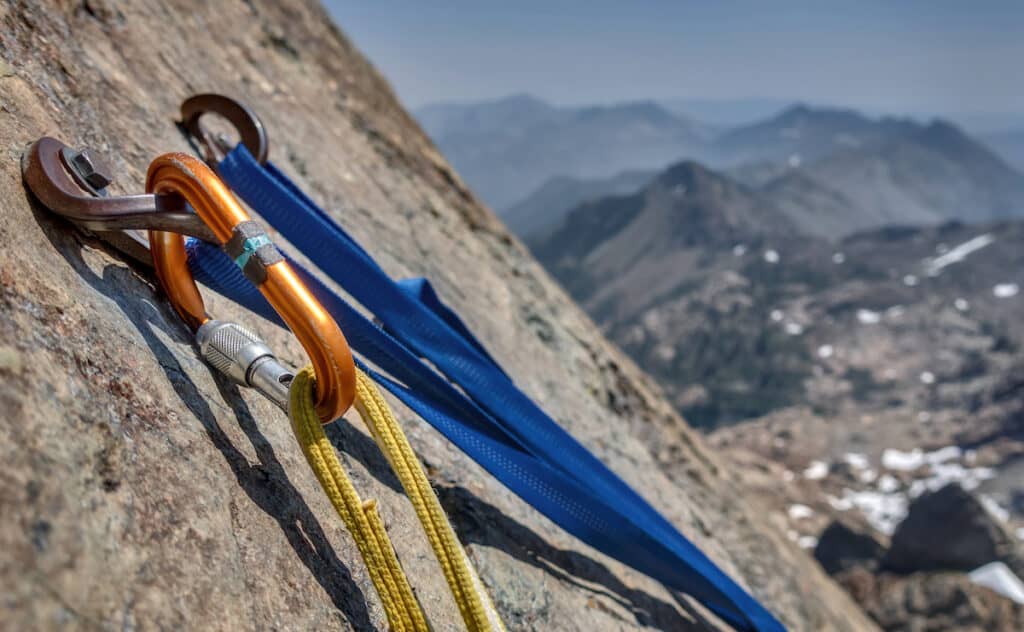
A bomber anchor with a Magic X and two slings for redundancy. Note the climber is secured via a clove hitch.
Other general tips
- Try to use different features for anchor pieces. If you stuff a couple cams behind a flake and call it good, the integrity of the flake is then the quality of your anchor. Rock can break. If possible hedge your bets.
- Two bomber cams can be a sufficient anchor if you don’t have another decent piece. A perfect cam placement in quality rock is just as good as a 1/2” bolt. Use your best judgment.
- If one of the anchor pieces is far from the others or is not as good as the others, extend it separately and below the traditional master point. This will help you avoid elaborate self-equalization schemes or situations in which a piece pops and the system is shock-loaded.
- Avoid depleting your rack by using identical pieces in the anchor. If you’re carrying two #1s, don’t use both of them for the anchor (unless you want to piss off your partner who will lead the next pitch).
- Use quickdraws as needed to extend pieces in the anchor. Ideally, all anchor pieces extend the exact same length and can be clipped close to one another, making establishing a master point a snap. This rarely happens. Clever use of a quickdraw here and there can be used to even out pieces placed at varying heights.
- Try not to use very small cams/RPs for major anchor pieces. Yes, there are quality #00 cam placements, but often very small pro is hard to place well, has much less margin for error and is not rated to the full strength of larger gear.
Entire instructional books have been written on anchors. I’ve discussed here the basic techniques I use for building anchors quickly and in a variety of situations with fairly minimal gear. I strongly suggest practicing building anchors while standing on the flat earth before heading skyward.
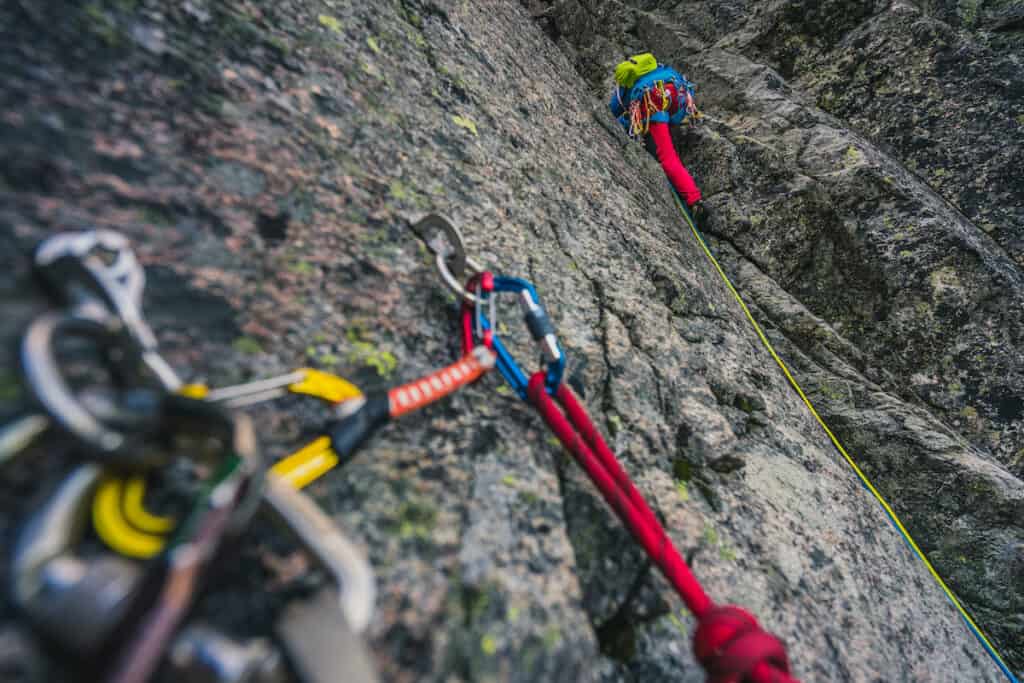
Of course, multipitch climbing requires expertise beyond just building anchors. Communication, route finding, rope management, and descents can be much more difficult, among other things taken for granted in single pitch climbing. But the world of climbing really opens up when you’re 500 feet off the deck, the raging river below is indistinguishable from the breeze, and you are sharing a perfectly intense and peaceful day on the rock with a good friend.
My last practical suggestion for beginner trad or multipitch climbers is to go with someone who is experienced before trying to lead your own excursion.