How to Make Liquid Chalk for Climbing: Easy 3-Step DIY Guide
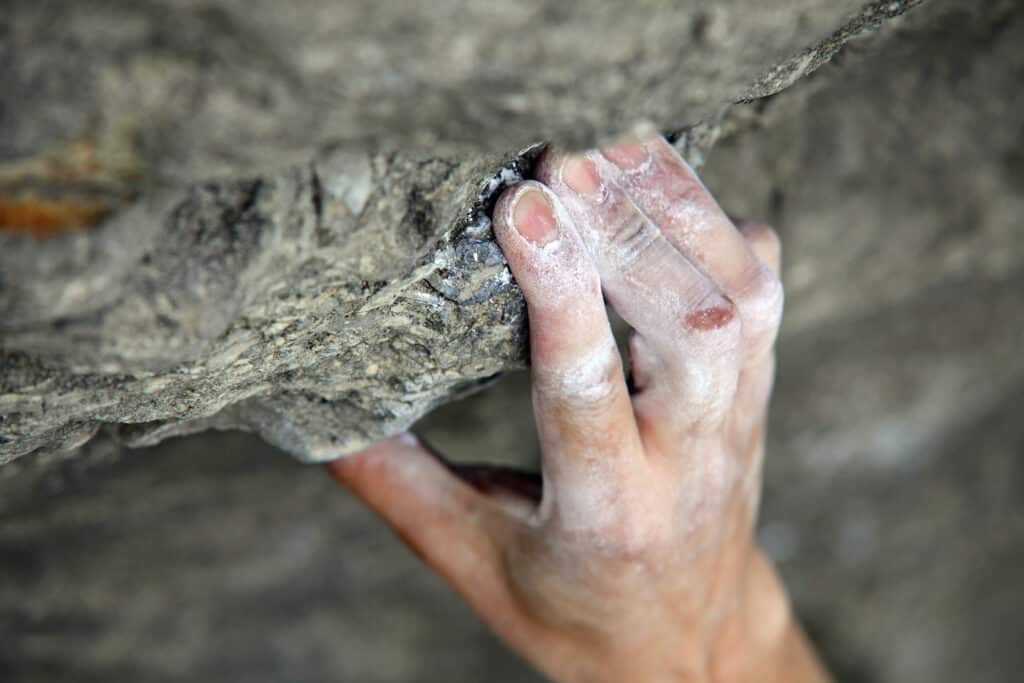
If you are a rock climber, chances are you’ve used rock climbing chalk before. Climbing chalk is necessary to help you get a solid grip on climbing holds.
However, loose chalk is messy. It gets everywhere, you breathe it in, and you need to re-apply it regularly when you’re climbing. Of course, if you’re climbing long routes, there’s no way to avoid it. You need a chalk bag to have enough chalk on your hands until the end of the climb.
Liquid chalk is a great solution if you’re climbing short routes or boulders. Applying it once is often enough to climb confidently a couple of problems. For climbers with sweaty palms, liquid chalk is especially effective. Many bouldering gyms have forbidden loose chalk in favor of liquid chalk to keep their premises cleaner.
There’s a catch, though. Liquid chalk can quickly get expensive if you climb regularly. And why should it be? Commercial liquid chalks are just a mixture of dry powdered climbing or gymnasium chalk (magnesium carbonate) and isopropyl alcohol. Some add additives to get a smoother texture, but that’s it.
So, if it’s so simple, why not save a few bucks by making it yourself?
After some research and trial and error, I found the most straightforward 3-step process to make my own. Premade liquid chalk is available in stores, but DIY liquid chalk is an even cheaper solution because you can make it using any leftover loose chalk you already have.
Here it is.
Ingredients and Ustensils
- Climbing chalk; block or loose powder
- Isopropyl alcohol
- A bowl
- A spoon
- A measuring cup
- Leakproof, airtight squeeze bottle or container
Using your favorite chalk brand and isopropyl or rubbing alcohol, you can make a 2:1 ratio of chalk to liquid.

Step 1: Grind your chalk to a fine powder.
- Grab a large bowl and a spoon or a mortar and pestle. Crush your climbing chalk into a fine powder. Be sure to smash all the chunks into as fine a powder as possible.
- You can also place chunks of your chalk block into a plastic bag and smash it with a rolling pin.
- If using rock climbing chalk powder, place it in a bowl and move onto step 2. Use a fine-mesh strainer to help break up any large chunks.
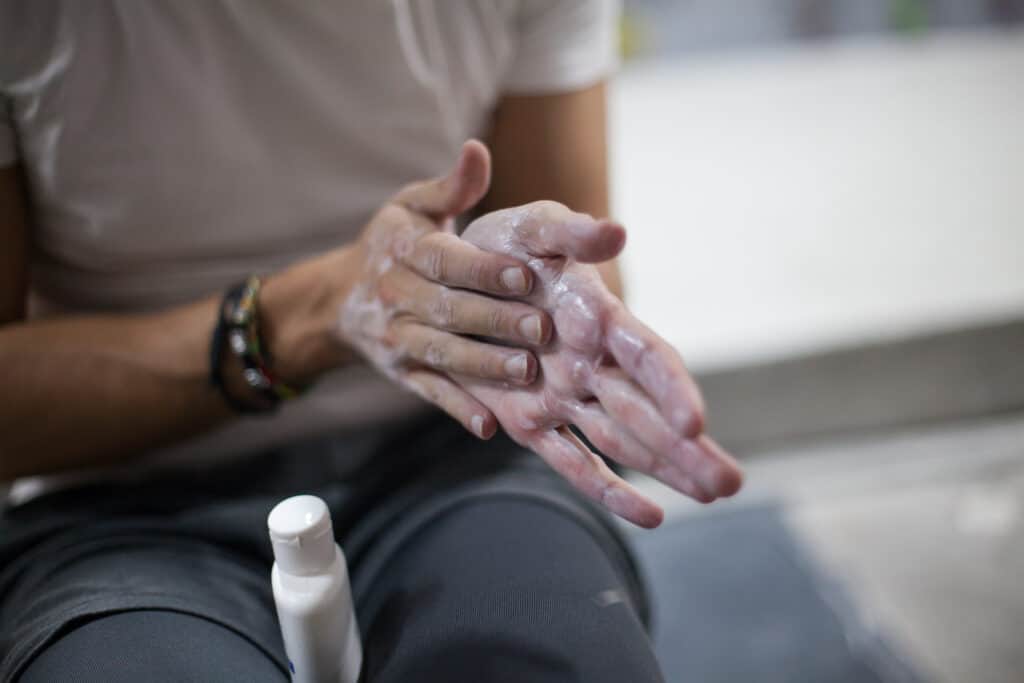
Step 2: Mix your chalk powder and alcohol together.
- Using a 2:1 ratio, powder to liquid, mix together in a large bowl to make a loose paste. For every two cups of chalk, you’ll use about one cup of rubbing alcohol.
- Make sure to use rubbing alcohol with a 70% alcohol content or labeled isopropyl alcohol.
- Start stirring in the alcohol a little at a time. To get the perfect paste consistency, aim for something similar to toothpaste or yogurt.
- Mix well to get a consistent solution, being sure not to leave any dry chalk in the bowl.
- If you prefer a looser mixture, add a bit more rubbing alcohol to get the consistency you’re looking for.
Step 3: Place your liquid chalk in an airtight container.
- Place the mixture into a small airtight bottle, like a travel shampoo bottle or a squeeze bottle. Fill it completely if possible. Keep in mind the size of the bottle. Make sure it’ll fit in your climbing bag since you’ll be taking it with you on all of your climbs.
- Alcohol will evaporate over time, so a leak-proof bottle is going to be your best option to make your final product last longer.
Using Your Liquid Chalk
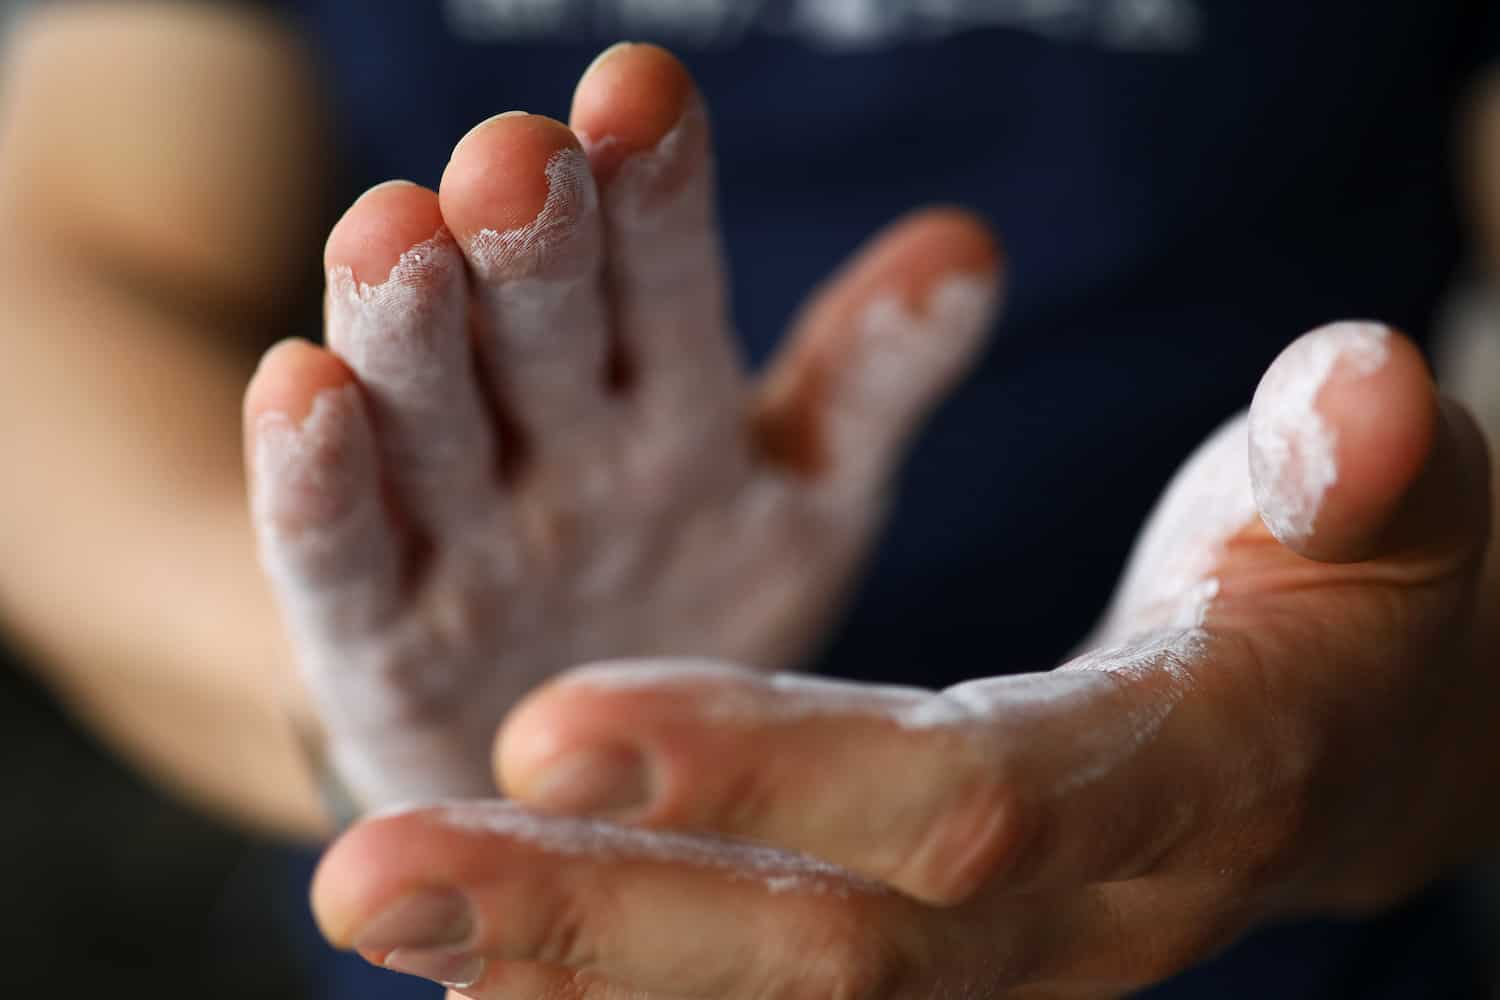
When you are ready to use your homemade liquid chalk, squeeze a small amount, about the size of a coin, onto your palms. Rub your hands together, spreading the mixture around evenly. The alcohol will evaporate quickly, leaving your hands covered in a thin layer. It can be your standard application for your next climb or can be used as a barrier to prevent sweat in conjunction with using loose chalk.
Tip
Do you prefer to spend a few extra bucks to keep your kitchen clean? Check our selection of the best liquid chalk in 2024.
Keep in Mind
- Isopropyl alcohol is dangerous. Your body absorbs it through direct skin contact or inhalation. If the amount of alcohol absorbed is high, it can lead to poisoning. It’s better to wear a mask and gloves and to create your mixture in a well-ventilated area, ideally outside if possible.
- Liquid chalk isn’t for everybody. For climbers who have sensitive skin, the alcohol may cause further irritation. If you have any cuts or open blisters, it may sting each time you reapply. Also, if you have excessively dry hands, the alcohol can leave you with extra dry skin and may cause it to crack.
- You can use any brand of chalk you’d like for this recipe. Homemade liquid climbing chalk is a great way to put your favorite quality chalk block to use, especially if you have a specific brand that you prefer.
- Don’t make more than you think you’ll need and try to make it as close to when you’ll use it as possible. Liquid chalk can dry up quickly when not in use. Make sure your storage container is airtight before placing it into your chalk bag.
How did creating your own liquid chalk go for you? Do you have a personal touch to enhance the formula? Please let us know in the comments.