Climbing Bolts: How to Identify and Inspect Them for Safety (2024)
Published on: 06/28/2023
Whether you are a trad climber who enjoys climbing in the alpine or a sport climber who prefers roadside crags, you know what a climbing bolt is. That’s because climbing bolts are essential pieces of equipment and have been used to advance the sport forward in some way or the other for decades.
Due to their prominence in various climbing disciplines, like a rappel anchor on top of sea cliffs or as anchors at the local crag, most climbers have learned to trust most bolts without question. But should they?
Unless you are clipping modern bolts installed within the last decade, there may be some cause for concern about the quality and reliability of the fixed gear you’re clipping. Keep reading to learn about some commonly used bolts and how to tell if they are safe to use or not.
Definition and Origins of Climbing Bolts
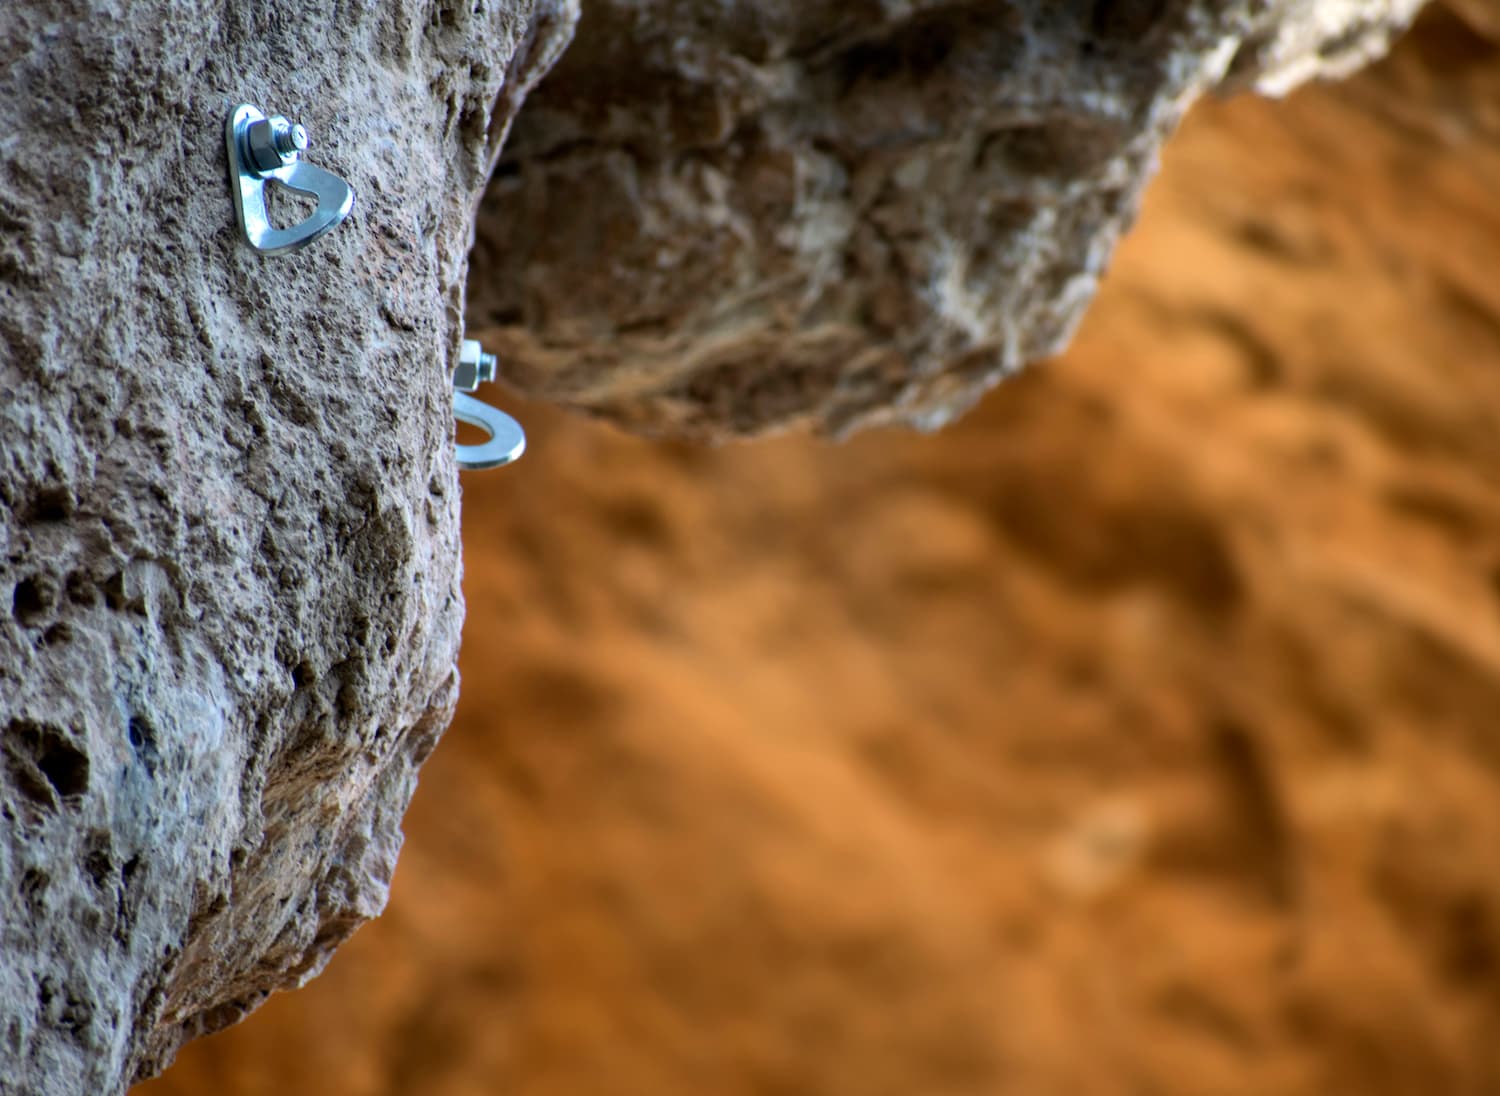
In the sport of rock climbing, a bolt is an anchor point permanently fixed into the rock. Bolts are sometimes used as individual climbing protection or as pieces to a more complex anchor system.
In the 1930s, legendary German climber and mountaineer Fritz Wiessner first began using bolts in his rock climbing ascents.
Not too long after, in the 1950s, North American climbers like Royal Robbins and Warren Harding used similar technology and techniques to aid their ascents in Yosemite Valley.
At that time, bolts were drilled into the rock on aid climbs when traditional protection points (i.e., pitons) were unfeasible. Climbers fixed their ropes and ladders to the bolts to assist them in gaining upward progress.
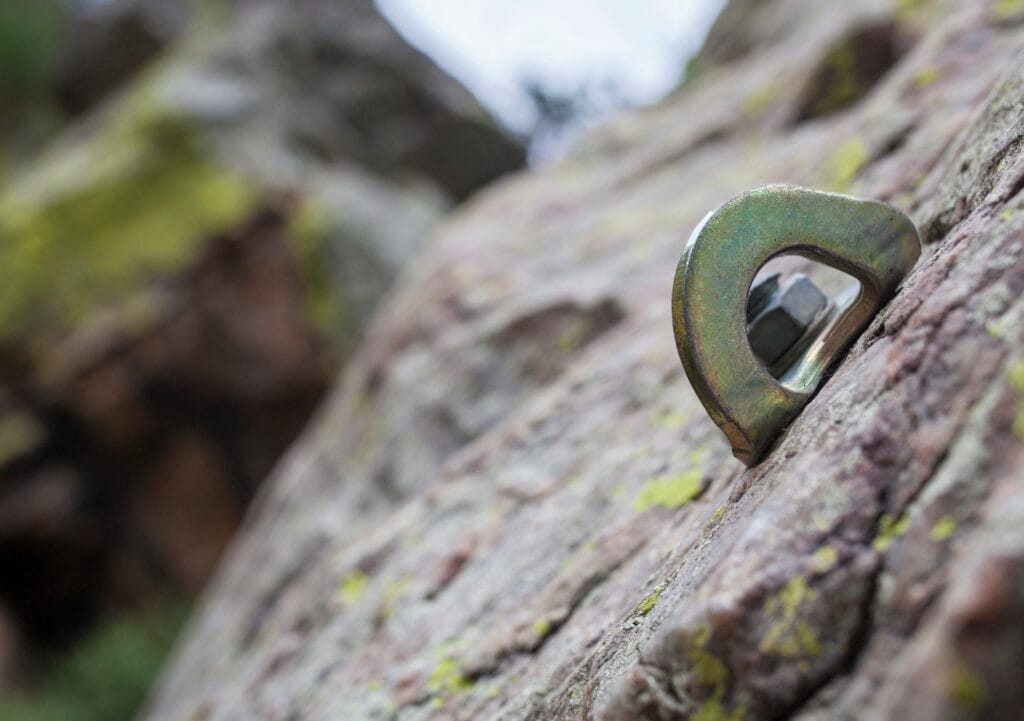
Later, in the 1970s and 80s (1), climbers began using bolts in a new way– for sport climbing. For example, French climbers in the Verdon Gorge began establishing routes from the top down while on rappel. They placed bolts in otherwise “unprotectable” rock to create fully bolted sport climbs.
After a while, this practice gained popularity (and legitimacy) in the United States. In particular, the 1980s was the “big boom” related to bolted sport climbs, with Alan Watts and Smith Rock State Park in Oregon at the forefront.
Nowadays, climbers continue to use bolts to protect rock climbs. Bolts in sport climbing are the most common. However, bolts are also used on mixed routes, new aid climbs and cutting-edge first ascents.
The Different Types of Bolts
Over the years, a lot has changed regarding the types of bolts and techniques used for bolting rock climbs (2). The type and quantity of bolts you run into in the wild depend largely on when the area was developed and the local bolting ethics of the time.
However, for the most part, there are three primary types of bolts.
- Expansion Bolts
- Glue-In Bolts
- Displacement Bolts
Expansion Bolts
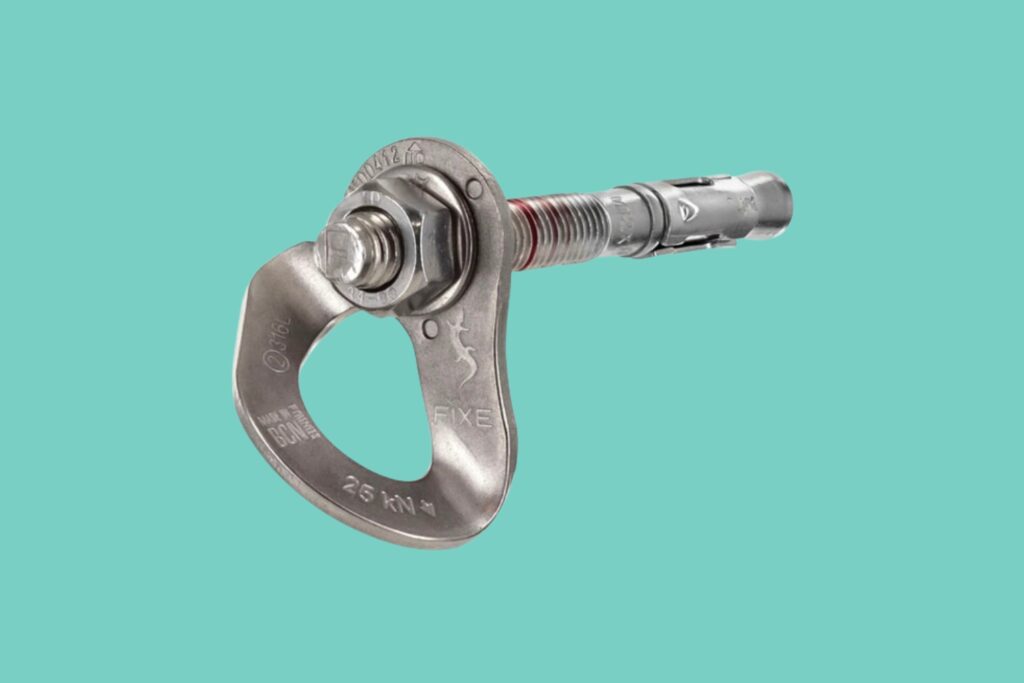
Expansion bolts are mechanical bolts that work by expanding into the wall of a hole drilled into the rock. They are the most common type of bolts you will find on climbing routes.
Within the expansion bolt category, two types of bolts are commonly used: wedge bolts and sleeve bolts.
Wedge Bolts
One of the most typical expansion bolts you find in rock climbing is the wedge bolt. Wedge bolts consist of a threaded bolt shaft and a single or double cone-shaped end wrapped in a clip or sleeve.
After the bolt is placed, a bolt hanger is placed over the end of the bolt that protrudes from the rock and is capped with a nut and washer.
Standard diameters of wedge bolts in Europe and North America are 10 and 12 millimeters. A well-placed wedge bolt should be placed five times deeper than the diameter. Materials-wise, most wedge bolts are stainless steel 304 or 316-grade steel.
Wedge bolts are super reliable and strong. They are also relatively easy to place one-handed and on lead. However, in terms of pullout and shear strength, wedge bolts are weaker than other types of expansion bolts, like sleeve bolts, because they have a more limited expansion range.
Due to their construction, single and double wedge bolts are ideal for normal and hard rock conditions (e.g., granite). However, sleeve bolts or glue-in bolts are better for soft rock conditions (e.g., limestone).
Sleeve Bolts
Sleeve bolts are another type of expansion bolt. They differ from wedge bolts because they have a sleeve that extends the full length of the bolt. A sleeve bolt is longer than a wedge bolt and, therefore will have a deeper embedment depth.
Sleeve bolts, also known as “five-piece” bolts, are comprised of the bolt, a washer, the sleeve, a plastic blue bushing, and a threaded cone. Unlike wedge bolts, sleeve bolts have a nut that cannot drop off, making them easier to replace.
Five-piece bolts are commonly made with zinc-plated carbon steel, various types of stainless steel, and even titanium. Carbon steel is the most economical, with titanium being the most expensive. Whatever the case, route developers typically avoid using bolts and hangers of different metals to mitigate galvanic corrosion.
Similar to wedge bolts, sleeve bolts are extremely strong. They have more surface contact inside the bolt hole, making them stronger regarding pullout and shear strength. For example, a three-1/2-inch five-piece bolt with a 1/2-inch diameter placed in concrete has a shear strength rating of 8,030 pounds and 9,400 pounds of tensile strength.
Glue-In Bolts
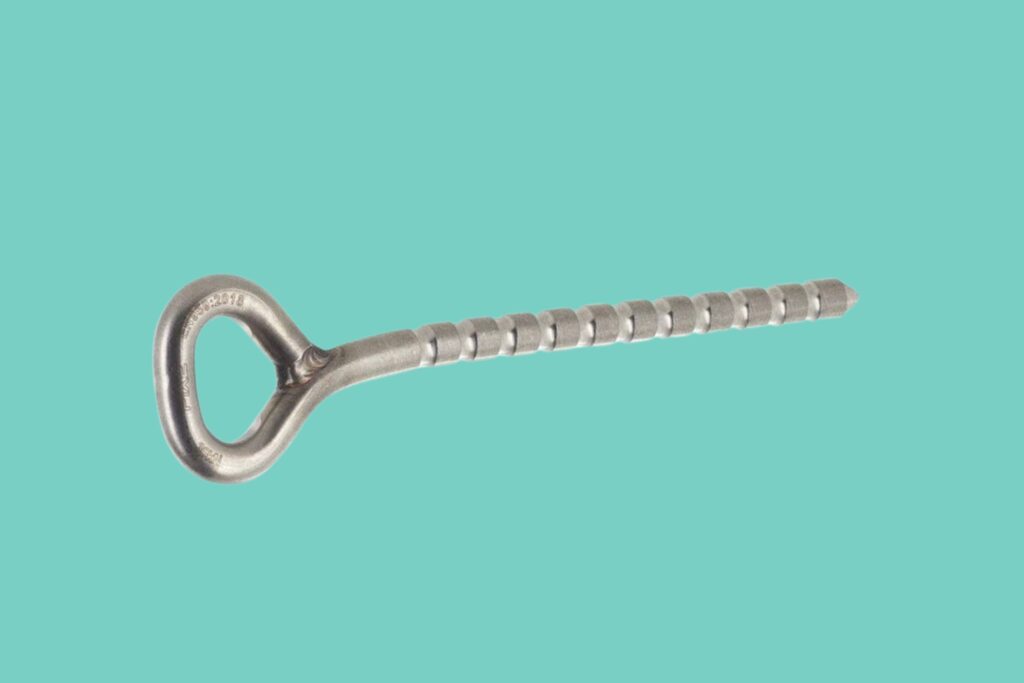
Glue-ins are bolts that are inserted into a drilled hole and are chemically bonded in place using an adhesive. They first appeared in the 1960s after a German company invented chemically bonded anchors for the construction industry.
Glue-in bolts require a secure bond between the adhesive and the rock inside the bolt hole, and special features to prevent movement by mechanical advantage.
Examples of features that prevent movement by mechanical advantage are grooves or twists in the shift of the bolt, like with the Wave Bolt (3).
Most glue-ins are made with stainless steel. However, there are titanium glue-ins (4) also, which are extremely strong (and extremely expensive) and ideal for crags located by the ocean. There are four types of glue-in bolts.
- Bent rod
- Welded eye
- U-bolt or staple
- Forged eye
Glue-in bolts are stronger than expansion bolts with comparable depths. They should be embedded five times deeper than the diameter of the glue-in.
They also do not contain parts that can rotate loose. In general, they are also more corrosion-resistant. For these reasons, glue-ins are commonly used to bolt brand-new crags and are frequently used to replace old expansion bolts.
However, glue-ins require more equipment and extra steps to install properly. In addition, the process can be messy, and the bolt is not as easy to replace. Also, the adhesive has a limited lifespan and cannot be immediately loaded because it needs time to cure, whereas expansion bolts can be used right away.
Displacement Bolts
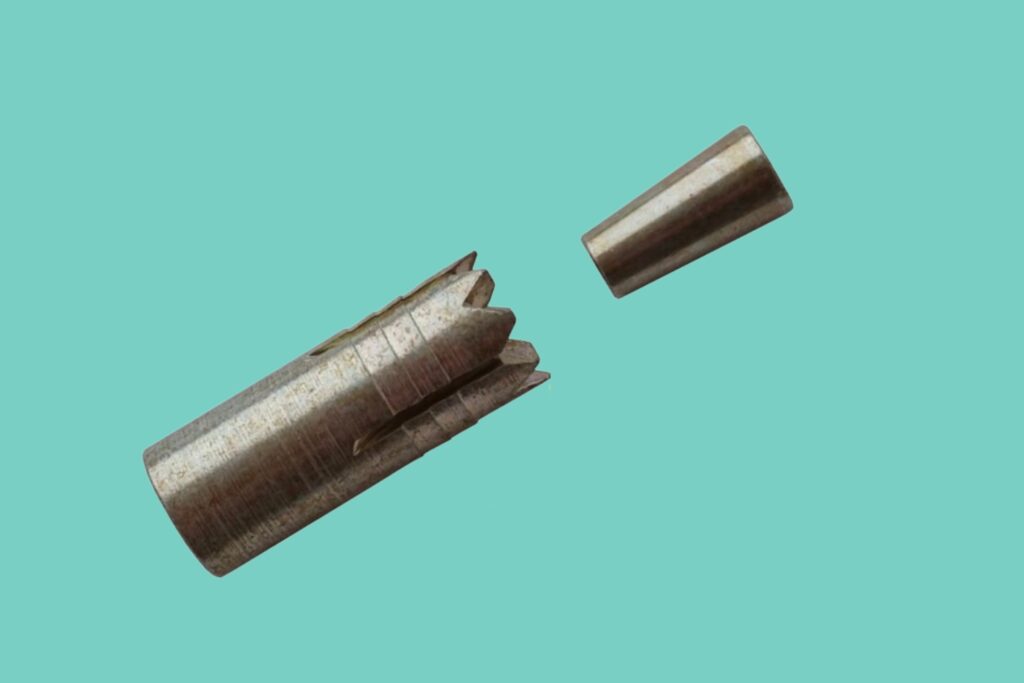
Some of the original bolts from the 80s and 90s were displacement bolts (5).
There are two common types of displacement bolts used by climbers.
- Self-drilling bolts: a serrated sleeve “self-drills” a bolt hole whereby a spreader cone is inserted into the back of the hole, and a bolt is hammered in on top of the cone displacing the shaft into the rock.
- Nail-drive bolts: a hole is drilled and then a bolt with a driving pin is hammered into the hole, expanding the shaft into the pre-drilled bolt hole
However, they are less common nowadays because they are not long enough and do not offer sufficient embedment depth according to modern standards, which is five times the diameter of the bolt.
How to Inspect Climbing Bolts on a Route
One of the major differences between outdoor and indoor climbing is that climbing bolts outside are not inspected like inside. Therefore, inspecting the climbing bolts you clip outside is up to you.
That doesn’t mean you must stop at every bolt for a thorough inspection on your way up. However, getting into the habit of being aware of the bolts you are clipping and keeping an eye out for red flags that may indicate the bolt is bad is good.
Position
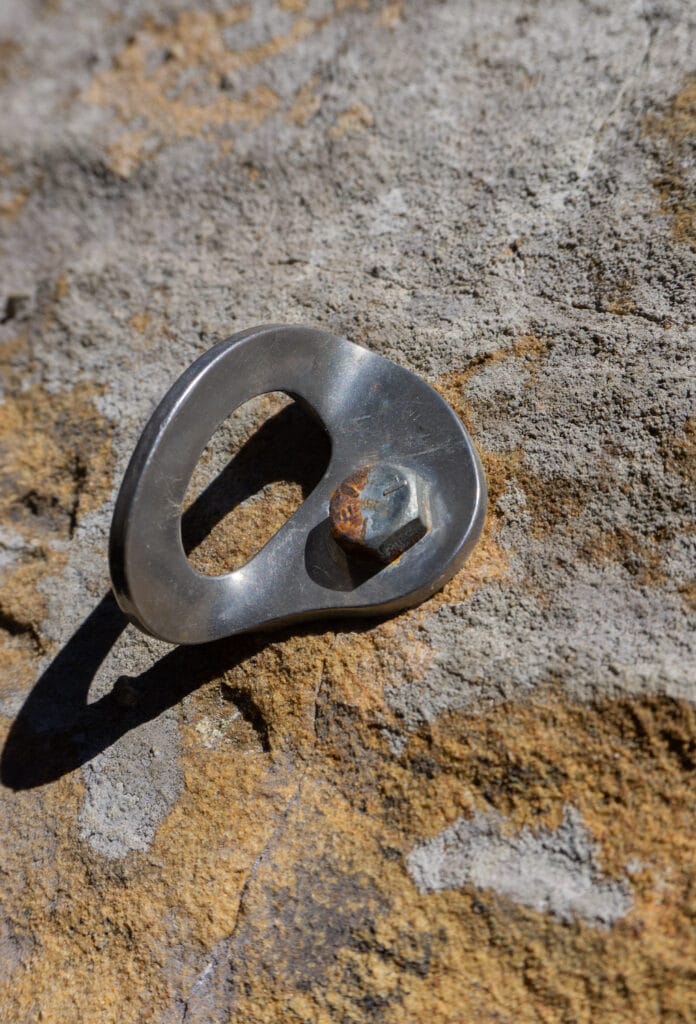
The position of the bolt is the first thing you can inspect. The bolt should not be placed within a few inches (or a hand’s distance) of any cracks, fissures, edges, or pockets.
Rock Quality
The quality of the rock is the number one determinant of a good bolt. For example, you can place a perfect, brand-new, and super strong bolt, but it is unreliable if you place it in bad rock.
Bad rock is identified by cracks, exfoliating layers, crumbling, dirt, debris, and hollow sounds when you tap it.
Movement
A well-placed and reliable bolt should not move when you clip it.
Two components can move with expansion bolts: the bolt hanger and the bolt itself. A climbing bolt with a moving or spinning hangar does not inspire confidence, but it’s less of an issue compared to if the bolt is moving.
That’s because a spinning hanger attached to the bolt can be tightened down. However, a bolt that moves in the bolt hole needs to be replaced and cannot be trusted.
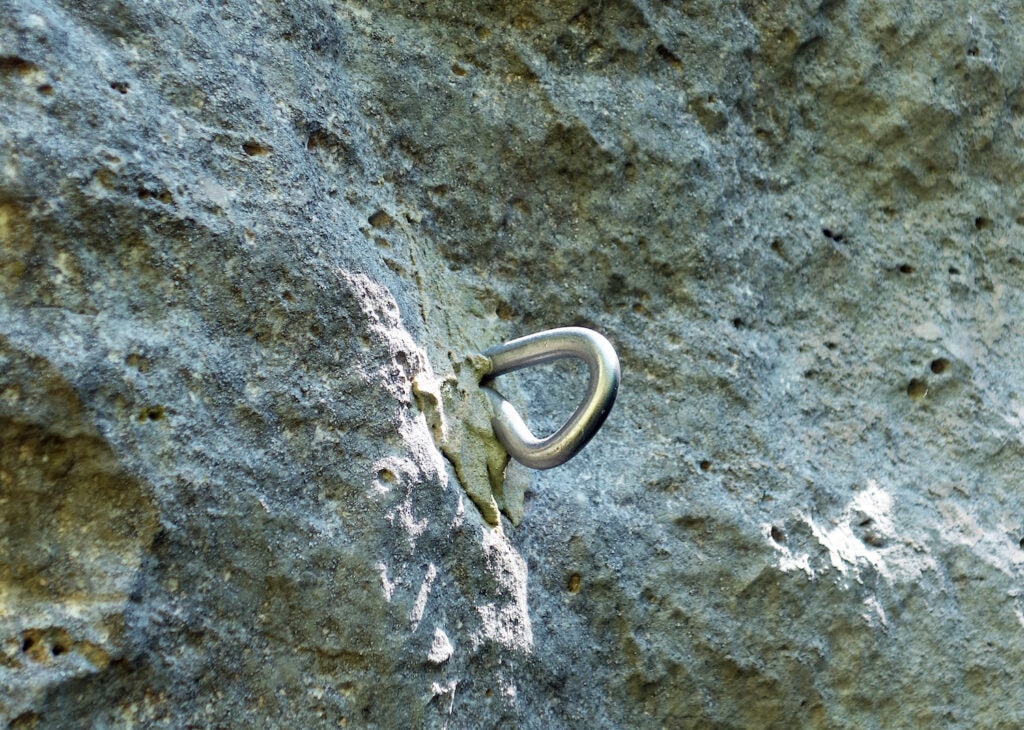
Unlike expansion bolts, glue-in bolts do not have hangers. Their simple construction is one of the major advantages. However, if a glue-in bolt moves when you check it or clip it, it could indicate that the glue is compromised and the bolt is unsafe.
Damage and Corrosion
In terms of damage and corrosion, the most common red flag to look for is rust. This is particularly true for older bolts that are not stainless steel.
Rusty bolts and bolt hangers are weaker and can break if the corrosion is particularly severe.
Bolts can also be damaged by rockfall and worn down by rope or quickdraws.
Summary List of Red Flags
Whether or not you clip and use a bolt is up to you. However, if you see any of the following red flags, you should advance cautiously.
- Compromised bolt hole
- Rusty bolt or bolt hanger
- Damage from rock fall
- Spinning bolt hanger
- War and tear from ropes and quickdraws
- Wiggly bolt
- Low-quality rock
What to Do if a Bolt Is Sketchy
If you climb long enough, you are bound to run into a sketchy bolt. When this happens, the best thing you can do is climb past it and not fall on the bad bolt.
However, if you want to take extra precautions, here are some additional ideas for what to do if you find a sketchy bolt.
Tighten the Nut on the Bolt Hangers
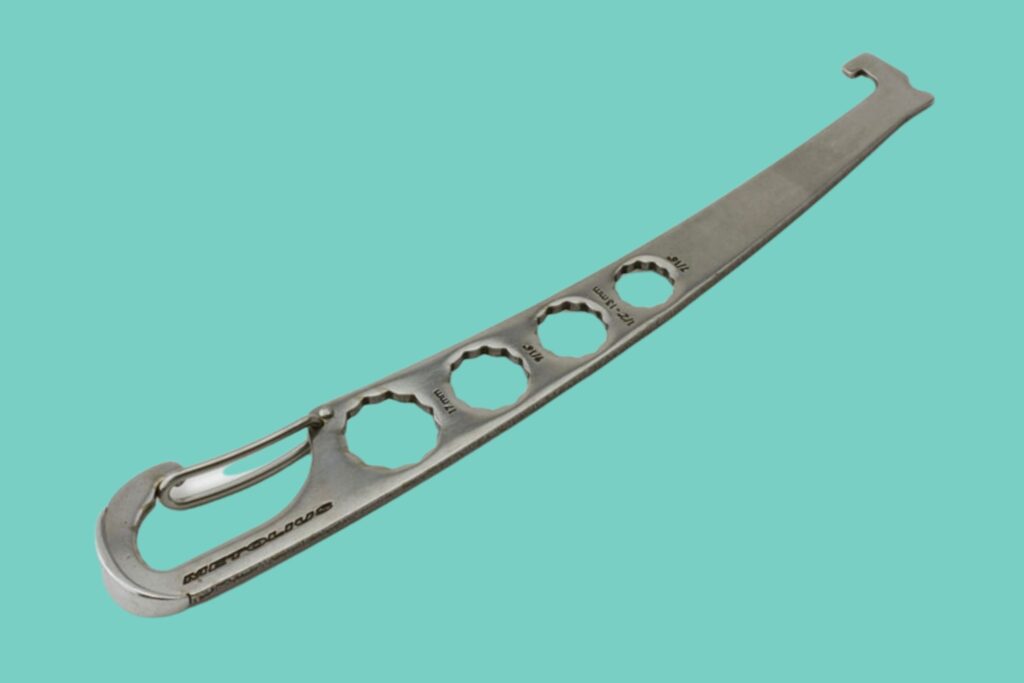
If you find a spinning bolt hanger, it may be possible to tighten down the nut on the bolt. The easiest way to tighten a bad bolt is with a crescent wrench.
Another option is with the Metolius Torque Nut Tool.
Back it Up
It may be possible to back up the bad bolt in some climbing areas. For example, placing a piece of trad climbing gear near the bolt may be possible.
In addition, backing up the bad bolt could be as simple as clipping the next one above it.
Use a Stick Clip to Aid Past the Bolt
If you find a sketchy bolt and climbing above it is hard and may make you fall, using a stick clip may be a good idea to aid past the bad bolt.
You can use a stick clip to pre-clip your rope to the next bolt to have a backup if the sketchy bolt fails.
Notify the Land Manager
In modern and well-developed sport climbing areas, the best thing you can do if you find a bad bolt that requires replacement or maintenance is to notify the local climbing organization or land manager in charge of maintaining the climbing.
For more obscure routes, like alpine multi-pitches or old aid climbs, you may need to get in contact with the first ascensionist party to get permission to replace the bad bolts you find on the climb.
Tag it With Red Tape
In the rock climbing world, red tape on the first bolt of a rock climb signifies that the route has issues and is unsafe to climb.
For example, there may have been a recent rockfall event that has rendered the climb unsafe. Or, there are issues with the bolts and they are unsafe for use.
In some cases, red tape on the first bolt signals that the bolting process is still incomplete and that the climb should not be tried.
Final Thoughts
Running into bad bolts that were poorly installed or have reached the end of their reliable lifespan is inevitable if you enjoy bolted rock climbing.
Depending on the scenario, the solution to the problem could be a quick fix– like tightening the bolt or deciding not to try a different climb. You may even be able to notify the land manager and get the bolt or bolts replaced.
Other times, there may be no solution, and you may be required to use the bolt (because a bad bolt is better than no bolt) and continue climbing, hoping for the best and trying not to take a whipper.
Whatever the case, bad bolts come with the territory and are additional risks you need to account for when climbing. So keep an eye out and do everything you can to mitigate the risk you are exposed to while climbing.
References
Rock Climbing Ethics: A Historical Perspective
Matt Perkins
Northwest Mountaineering Journal
http://www.alpenglow.org/nwmj/05/051_Ethics2.html
To Bolt or Not to Bolt: A Framework for Common Sense Climbing Regulation
Michael Sammartino
American Bar Association
https://www.americanbar.org/groups/environment_energy_resources/publications/plr/20200824-to-bolt-or-not-to-bolt/
Wave Bolt
https://wavebolt.com/
Eterna
Titan Climbing
http://www.titanclimbing.com/Titan%20Climbing%20products%20-%20Eterna%20Titanium%20glue%20in%20bolt.html
Bolt Guidance Document
P. Clark, O. Milling, and D. Middleton (May 2007)
British Mountaineering Council
https://www.thebmc.co.uk/bmcNews/media/u_content/File/equipment_advice/bolt_funds/Users_guideLR.pdf
