Climbing Protection Devices: A Complete Overview (2024)
Published on: 10/25/2022
Unless you are free soloing, your climbing will involve some kind of system to protect you from long falls and serious injury.
Every major style of climbing, from mountaineering to sport climbing to traditional climbing, requires a climbing rope and some way to securely attach it to the rock, snow, or ice.
What Is Climbing Protection?
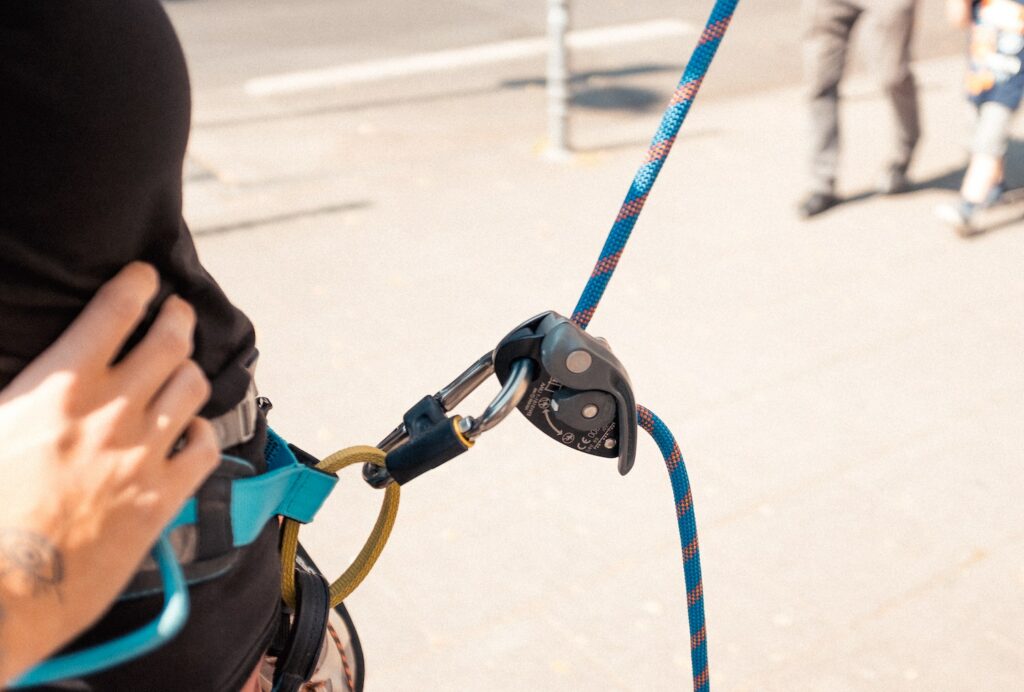
Climbers refer to the gear that connects the rope to a rock face, a snow slope, or a vertical ice wall as climbing protection. If you have a belay, or some way to self-belay, protection devices should prevent climbers from falling all the way to the ground.
If you don’t use proper gear, or that gear fails, you may experience a ground fall and risk serious injury or death.
The term climbing protection, or simply “protection,” generally refers to any type of gear that prevents a climber from falling and being injured. Different styles of climbing use different kinds of protection devices.
Protection for Mountaineering & Ice Climbing
Mountaineers must be prepared for glacier travel on snow and ice of varying steepness. If traveling on terrain where belaying isn’t necessary, the main form of protection is an ice axe to self-arrest in the event of a fall.
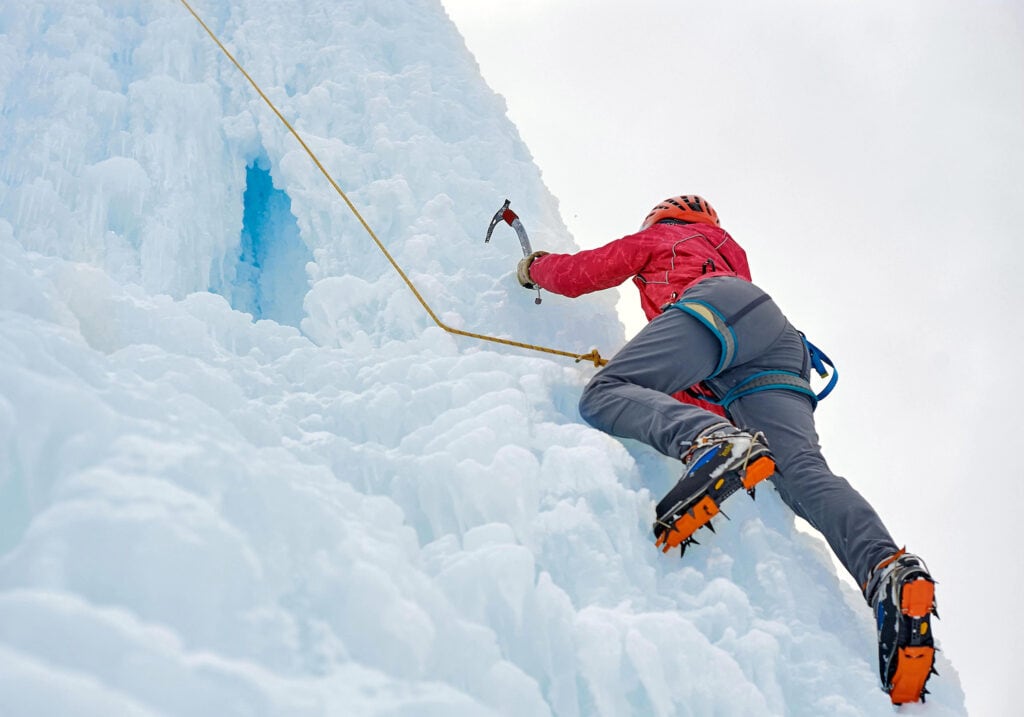
For snow protection where an anchor or belay is required, climbers can drive a snow picket into the ground if the snow is soft enough. Mountaineers may also pound their ice axe shafts into softer snow or the axe pick into harder snow as a form of protection.
On vertical ice, the most common form of protection is ice screws. These are hollow, metal screws that are 5 – 8.5 inches (13 – 22 cm) in length. The end of the screw has a hole for clipping a carabiner.
Another method for protecting ice climbs is a technique called the V-thread. To make a V-thread, first you use two ice screws to make holes in the ice that angle toward one another. Then you thread a piece of cord through this hole and attach a carabiner. This is more commonly used for rappelling than protecting an ice climb on lead.
For full details on how to protect snow and ice routes, refer to Mountaineering: Freedom of the Hills.
Protection for Rock Climbing
Bouldering
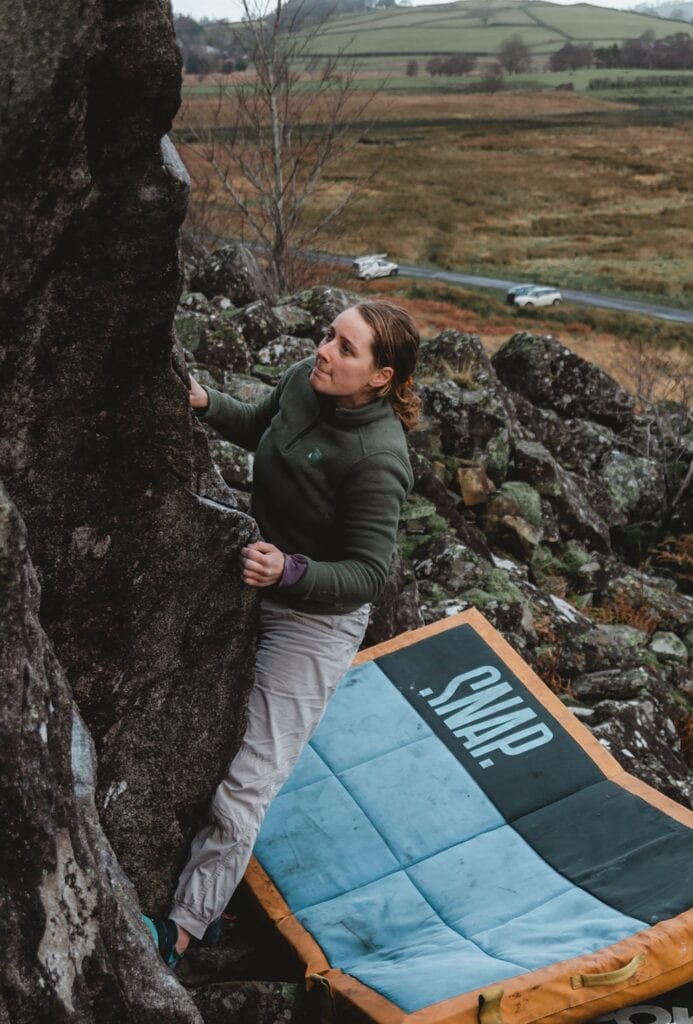
While it’s true that bouldering doesn’t require a rope, modern boulderers usually place padded mats at the base of their climbs.
These mats are called bouldering pads or crash pads. Pads are considered a form of protection since they reduce the likelihood of injury in case of a fall and are generally viewed as a mandatory piece of climbing equipment for bouldering.
Top-Roping Protection
Top roping is a form of rock climbing where the rope is already anchored at the top of the wall being climbed. This is in comparison to lead climbing, where the leader ties into one end of the rope and places protection as she goes up.
When top roping, typically, the only protection used is the anchor at the top of the climbing route. This could consist of bolts, a natural anchor like a tree or boulder, or an anchor built using trad climbing gear (described below).
A top-rope anchor must be “bombproof,” especially when beginners are involved. It should be able to withstand multiple climbers taking falls, lowering, bouncing on the rope, and swinging with no risk of the rope becoming detached or the gear pulling loose.
Sport Climbing Protection
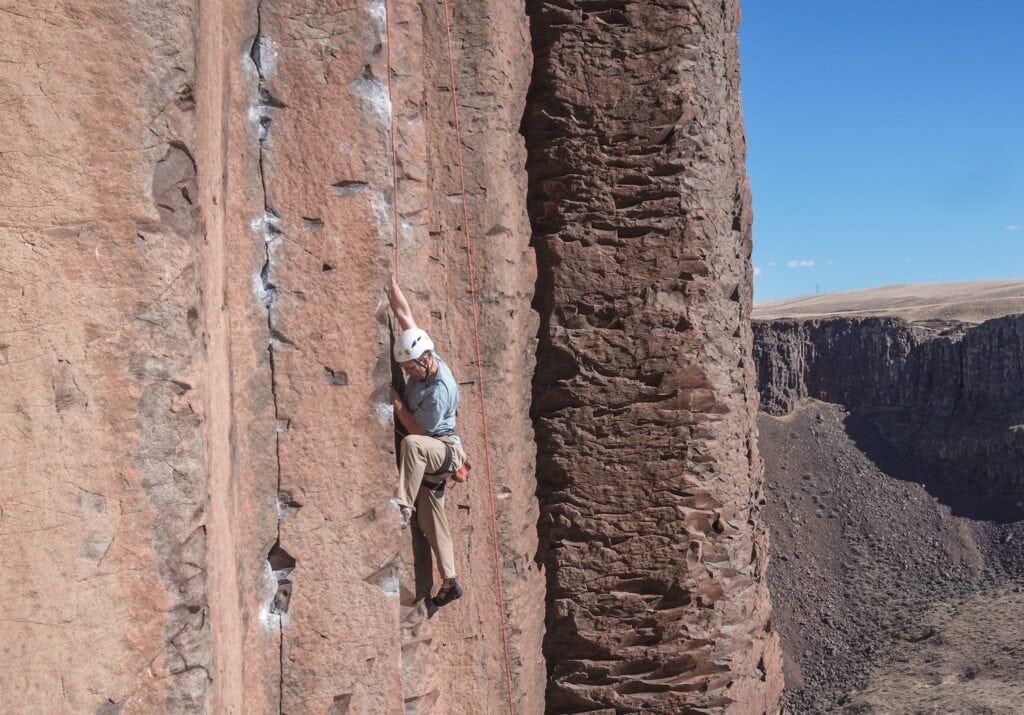
In rock climbing terms, a sport climbing route refers to a route that’s protected by bolts that are permanently sunk into the rock. Sport climbing is the most popular form of outdoor roped climbing and is also practiced indoors in climbing gyms all over the world.
The typical bolts used for protecting sport routes are around 3 – 5 inches (7 – 12 cm) in length and have an expansion sleeve that locks them into the hole when tightened down. Each bolt holds another piece of metal called a hanger.
Climbing bolt hangers have two holes. A small hole that the bolt goes through, and a larger hole for attaching a carabiner.
A lead climber clips quickdraws into the bolt hangers as he ascends. Then the rope is clipped into the opposite end of the quickdraw. When the leader falls, they only fall as far as the last bolt that was clipped.
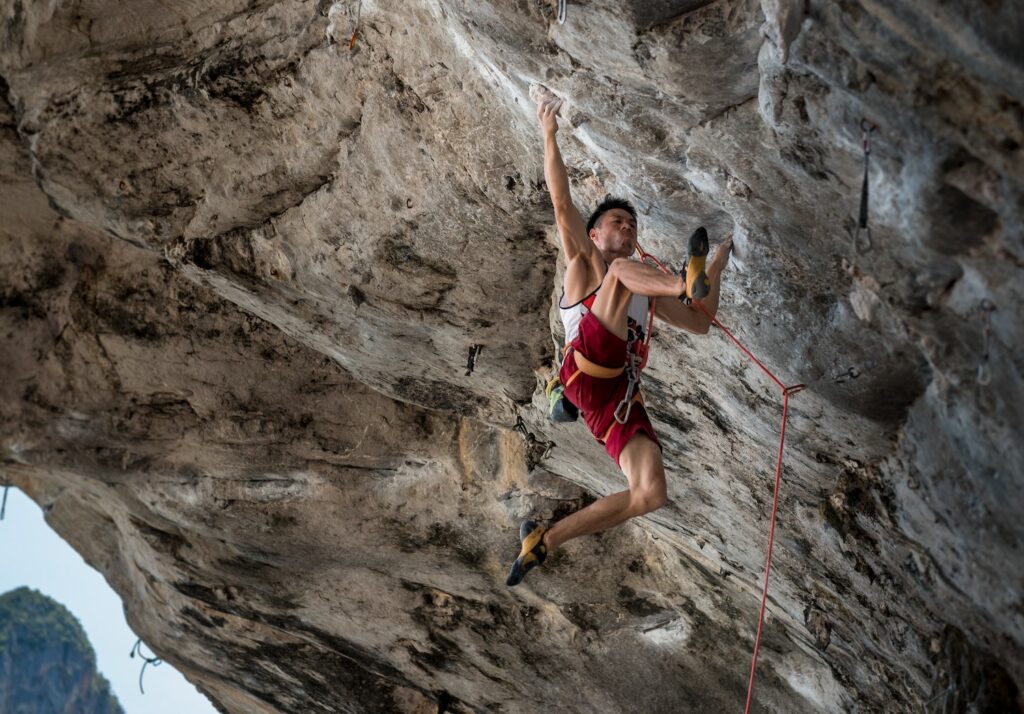
At the top of a sport climbing pitch, normally lead climbers find a bolted anchor with at least two bolts. For ease of lowering, popular sport routes may be equipped with chains, hooks, quick links, or some other gear that allows for lowering without leaving gear.
It takes specialized knowledge and tools to know how to drill and install bolts in rock. The best way to learn is to try and meet someone experienced to teach you. You also need to know the local laws and customs, as bolting is regulated or banned in many areas.
Trad Climbing Protection Devices
Traditional climbing has a large range of gear and techniques for different rock features.
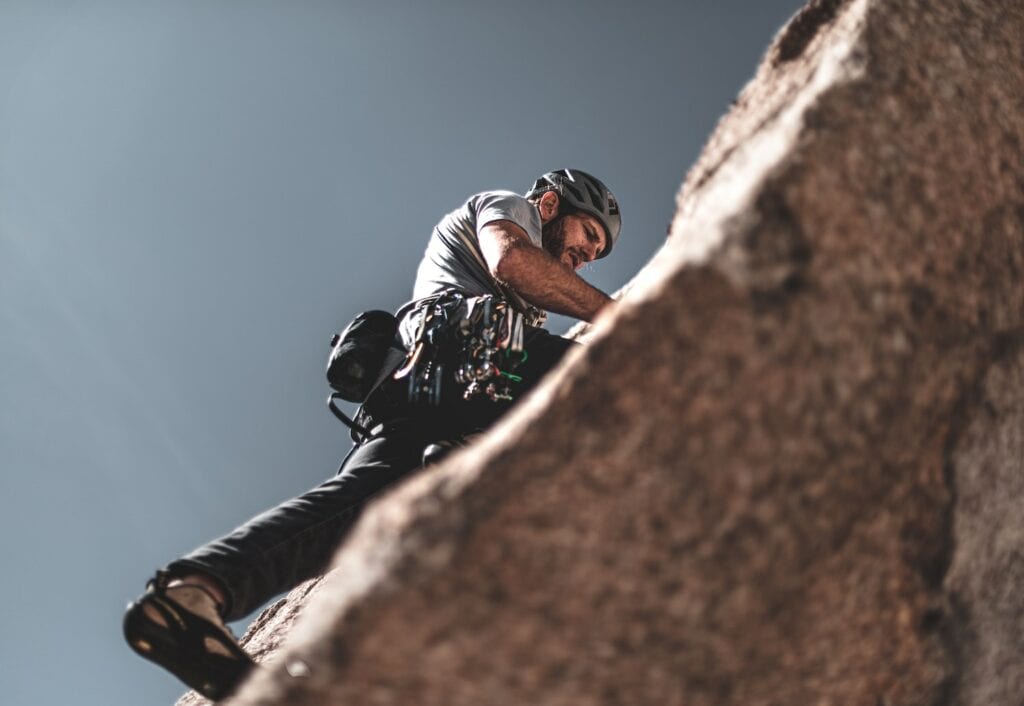
Trad climbing protection devices are mostly designed to be wedged into cracks, pockets, and similar features.
Trad climbing protection can also involve tying off protruding features like flakes, horns, and natural chockstones. In those scenarios, a sling is normally used along with a girth hitch or other knot to fasten the sling more securely to the rock.
Trad climbers often refer to protection as “pro.” Like, “What’s the pro for that route?”
Passive vs Active Protection
Traditional rock climbing protection devices are classified into two general categories: active protection and passive protection.
Passive protection is pro that doesn’t have any mechanism or moving part. One of the simplest forms of passive pro is called a nut because the first ones were just machine nuts that climbers wedged into cracks and clipped carabiners into.
On the other hand, active protection devices have moving parts that allow them to expand or contract to fit a wider range of cracks. Camming devices also dynamically push out on the insides of a crack when a climber falls or hangs to give even more security.
Passive Protection Devices
Passive protection was basically the only type of pro available until around the 1970s when the cam was invented.
These are the main types of passive protection devices used today:
Nuts and Stoppers
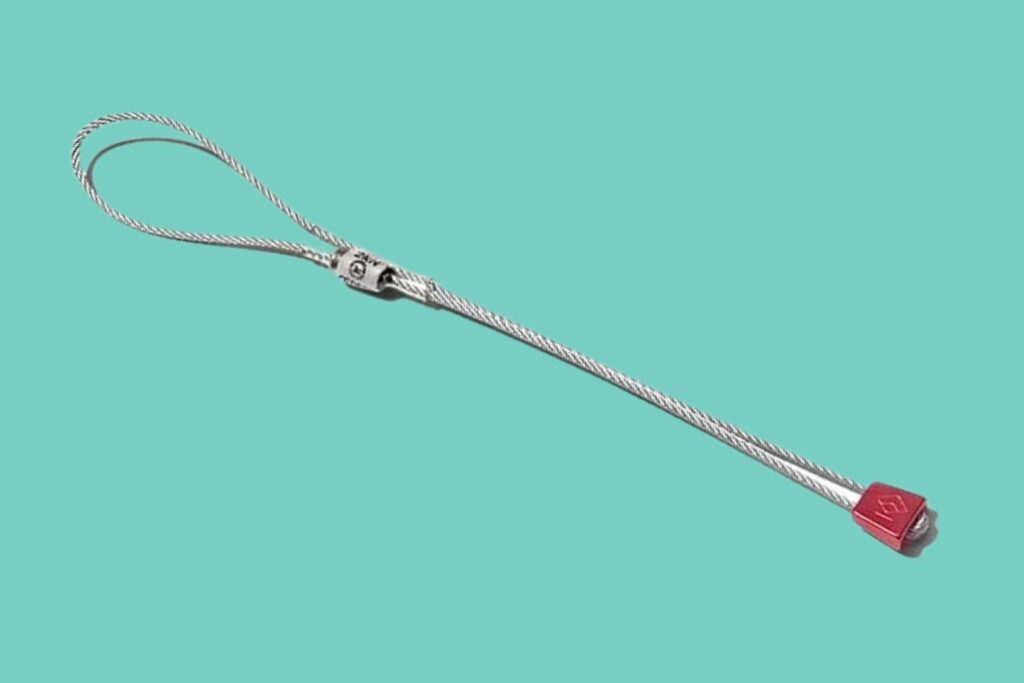
The terms nut and stopper are interchangeable. A stopper is a tapered metal wedge that comes in various sizes and shapes to fit in different types and sizes of cracks. A metal wire loop attached to the wedge allows you to attach a carabiner.
Nuts are sold either in sets or individually, but most trad leaders will want at least one full set.
Stoppers and nuts are made of plain or anodized aluminum and sold by many reputable manufacturers in many sizes and colors.
Hexes
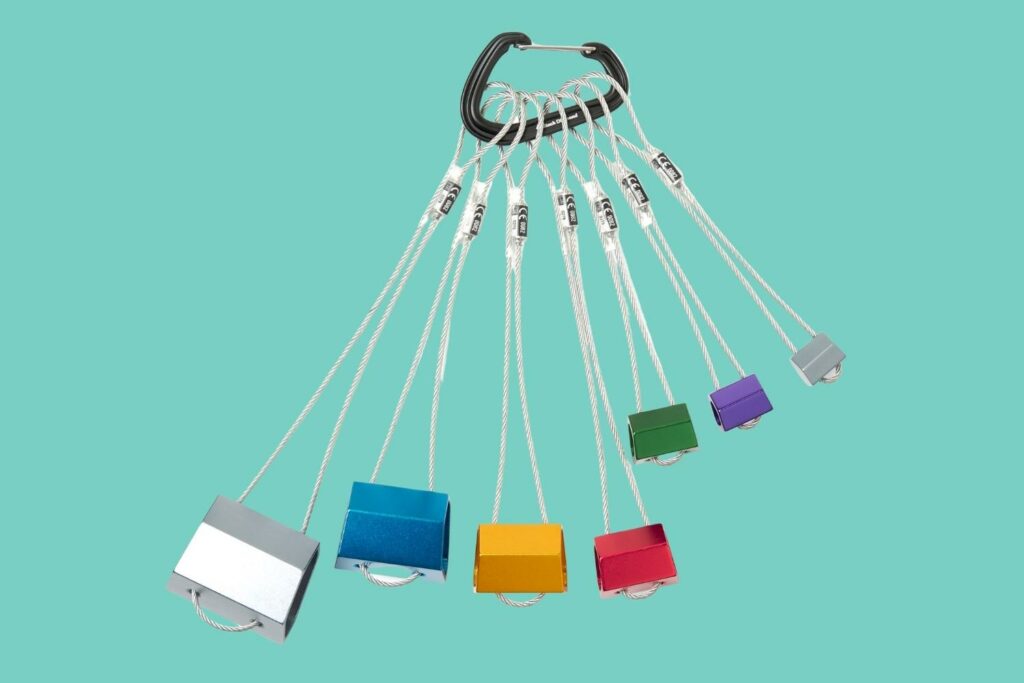
Hexes are large, hollow hexes of aluminum that fit in medium- to wide-sized cracks.
Usually strung with wire or cord, hexes can be placed in several orientations, like stoppers. This broadens their usefulness in different-sized cracks.
Tricams
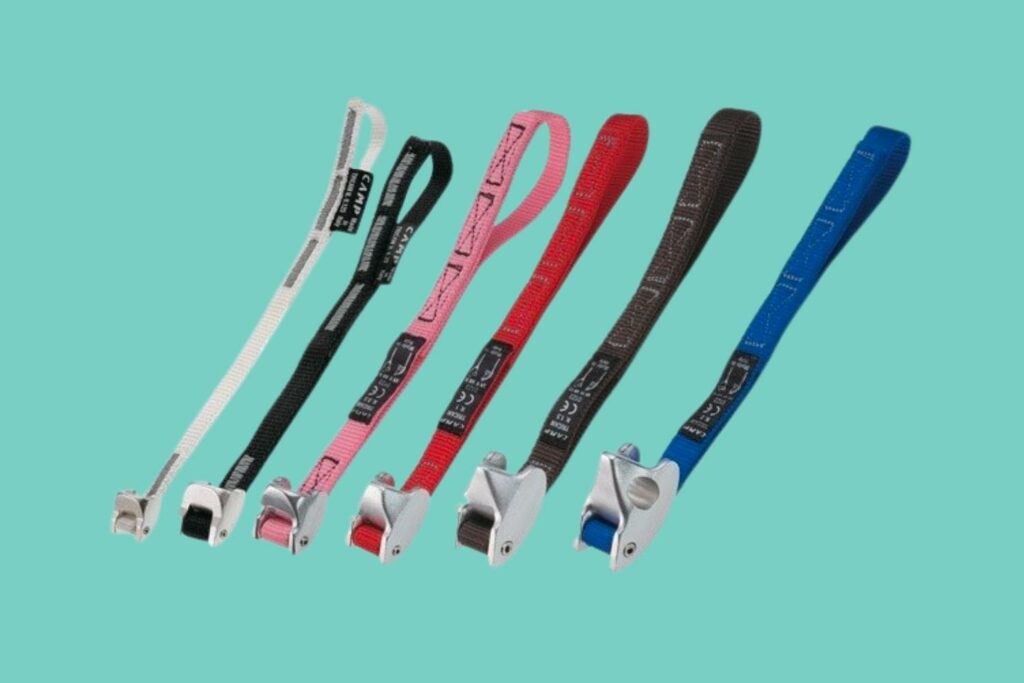
Tricams are somewhat unique in that they have no moving parts, but they can be placed in either “active” or “passive” modes.
In passive mode, they’re placed like a nut in a crack with a constriction. In active mode, they can be placed in more parallel-sided cracks, horizontal cracks, and pockets with more success than a passive nut. They have one curved side and one pointed side, which together provide a camming action that holds tighter under load.
Micronuts
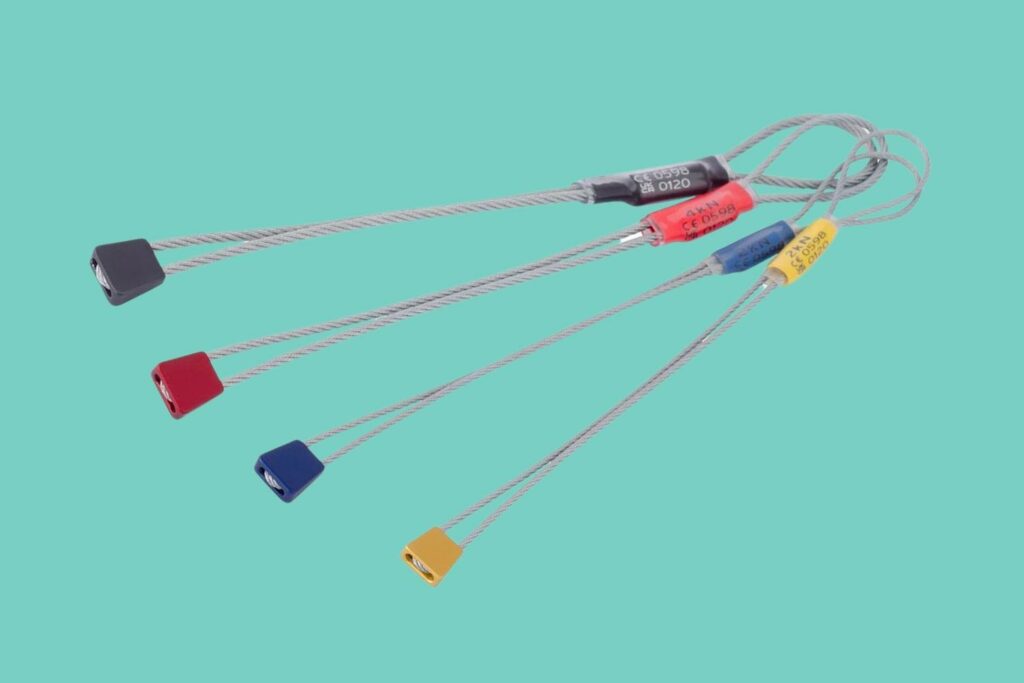
Often made of brass and referred to as “brassies,” micronuts are simply nuts that are smaller than those found in a standard set of stoppers. A micronut can fit into a smaller crack than a regular-sized stopper.
The smallest micronuts often aren’t rated to take a lead fall, so be careful. Make sure you check the ratings on all your passive pro. A lead fall can generate 5kN of force or more, so all your gear placements should be able to hold that if you want to lead trad routes safely.
Tube Chocks

A type of expandable chock made by Trango called the Big Bro, these spring-loaded metal tubes expand to fit in wide cracks over a foot wide.
Active Protection Devices
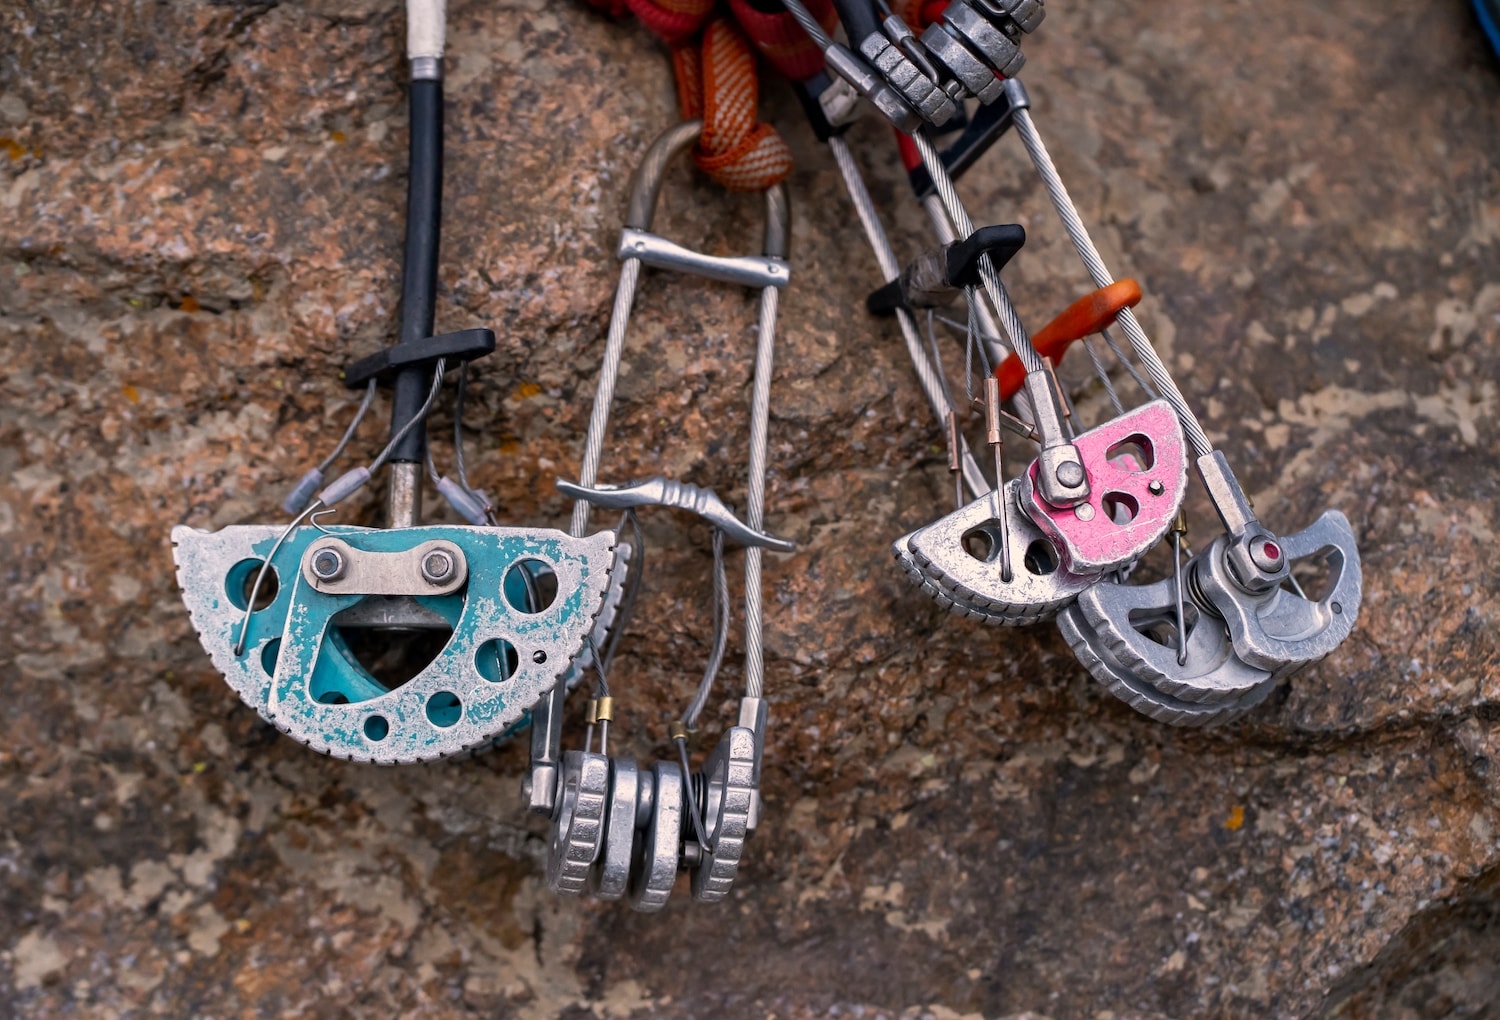
Active pro refers to devices that have moving parts. The most popular type of active pro is the spring-loaded camming device or cam. While cams are the most common type of active protection, a few others can be useful in the right context.
Camming Devices
Camming devices have 3 or 4 metal lobes on springs attached to a central stem. When a climber pulls a trigger mechanism, the lobes retract so that, when placed in a crack and released, the cam lobes open up and grab the insides of the crack.
The first spring-loaded cams, called Friends, were introduced in the late 70s by Wild Country. These devices have greatly improved the ease and safety of traditional rock climbing.
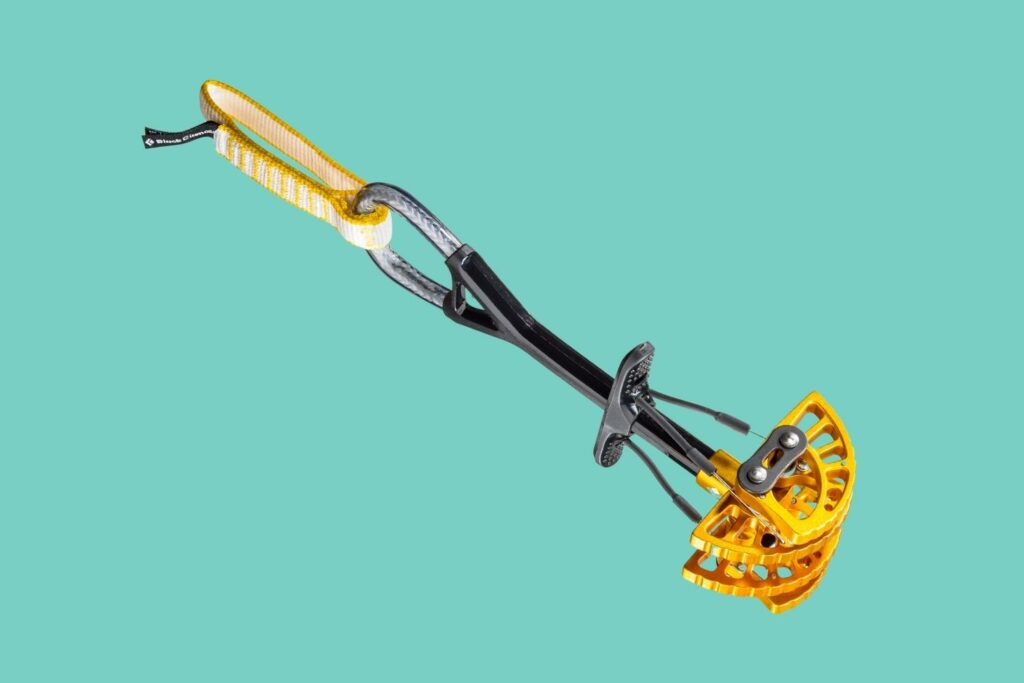
In recent years, cams of various sizes have taken over most trad climbers’ racks. They hold in parallel-sided cracks better than any passive pro, and the fact that the lobes expand and contract gives them a greater range than a similar-sized nut or hex.
That means a trad climber can carry fewer other pieces of gear on his rack. Cams come in sizes from micro to over one foot when expanded.
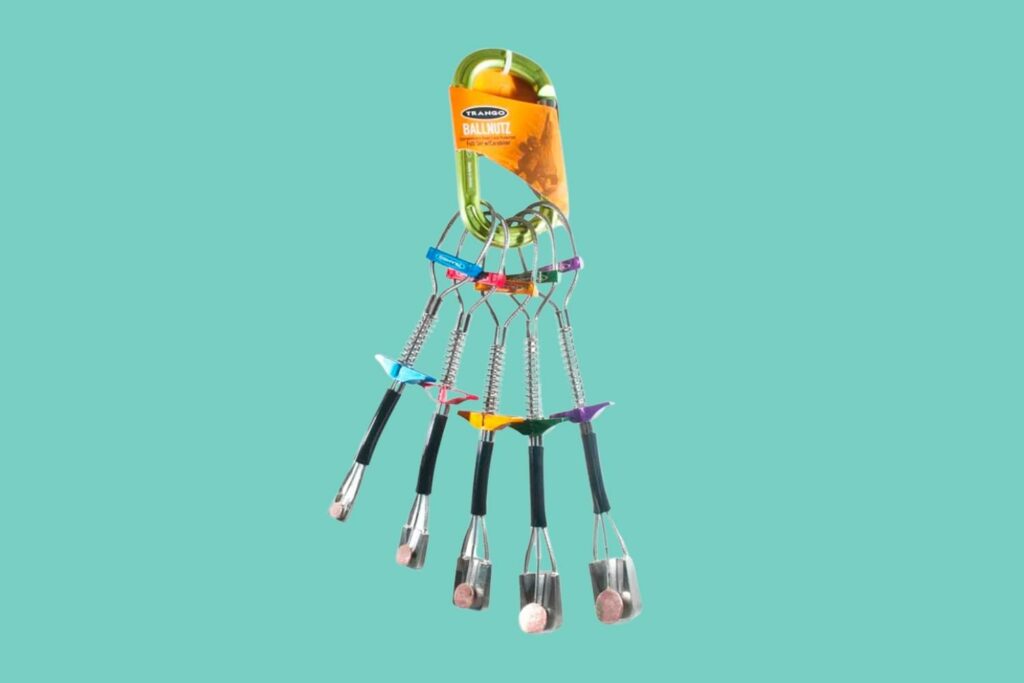
BallNutz
BallNutz use a nut-shaped piece of metal and a semi-circular ball that slide against one another. A spring and trigger allow a climber to retract the ball and place BallNutz into smaller parallel-sided cracks than most cams can fit into. When the trigger is released, the ball slides up a ramp on the nut to wedge itself more securely inside the rock.
How to Place Protection
In the case of rock climbing and placing gear, typically, a leader carries just enough gear to safely complete the pitch they’re climbing. The belayer follows the leader and cleans the gear as they ascend.
Knowing how to search out a good placement and set climbing pro correctly is a critical skill for any trad lead climber. If you want to crack climb safely, you must learn how to spot constrictions and other likely placements, then quickly find the right size piece on your harness and place it with one hand.
Then you must attach a quickdraw or sling to the piece and clip your rope in. At that point, give a quick jerk on the piece in the direction of a potential fall to make sure it’s seated and solidly placed.
This just scratches the surface of the art of placing pro. You should seek out a course with professional instruction before you try to lead climb using traditional climbing techniques.
Important Tips
- Don’t use any of the equipment mentioned in this article without professional instruction, training, and practice. A beginner with no knowledge of how to properly place protection is taking their life into their own hands and perhaps their partner’s.
- Find a safe location with shorter, easier routes when you start doing any kind of new style of climbing for the first time.
- Many guidebooks and online guides will give information about suitable types and sizes of protection devices needed for a particular climb.
We hope this guide helps improve your overall knowledge of climbing equipment safety and how to choose the proper device for whatever type of climbing you may be pursuing.
