How to Build a Top Rope Anchor: A Complete Guide (2024)

Introduction
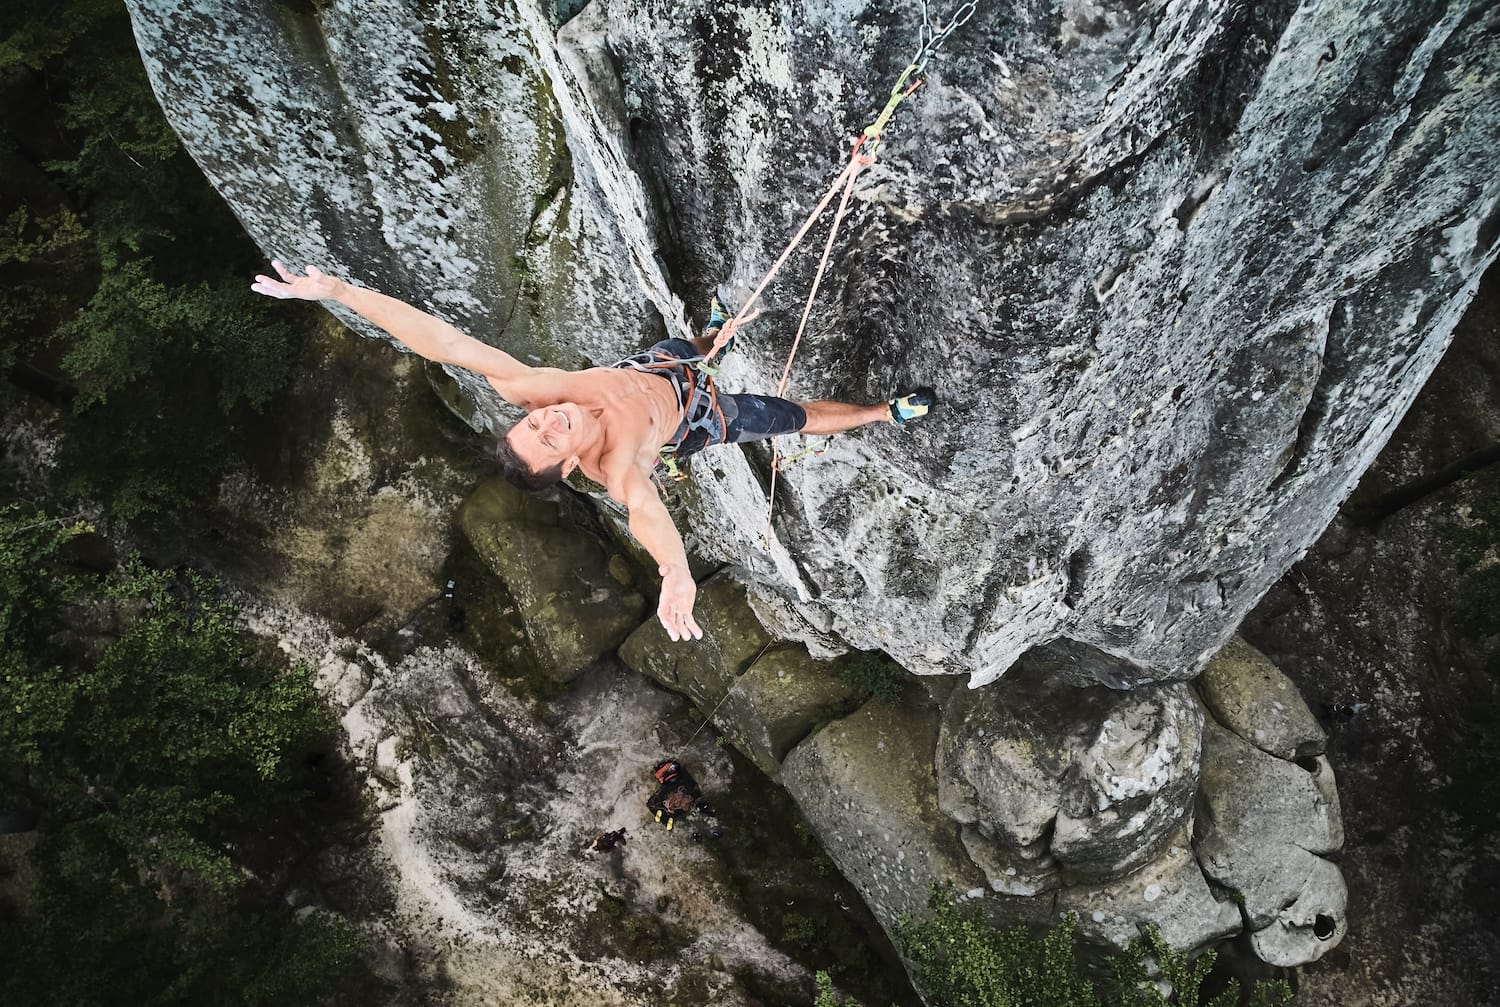
Top rope climbing is a style of climbing where the climbing rope is secured through an anchor at the top of the climb ahead of time. After an anchor is safely built, the climber can tie into the climbing side of the rope while the belayer loads their belay device on the brake side of the rope.
In top rope climbing, the belayer takes out slack and keeps the rope taut as the climber advances upwards. If there’s a fall, or if the climber wants to take a break, the belayer can arrest the rope and catch the climber.
In a top rope fall with an attentive belayer, the climber typically only falls the distance that the rope stretches.
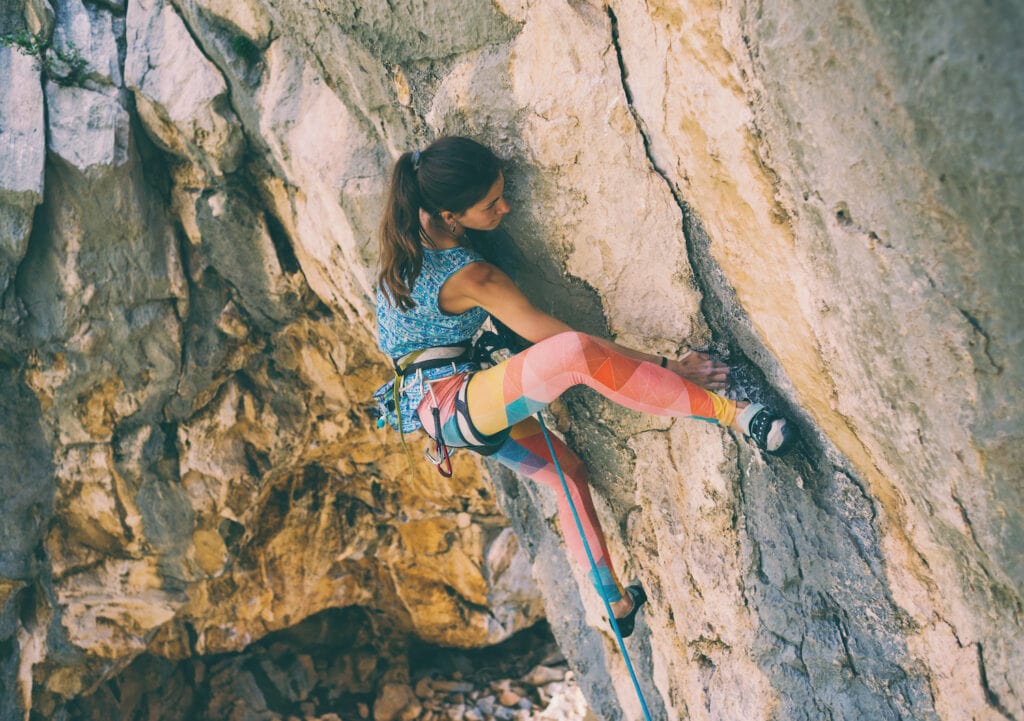
Top rope climbing is different than lead climbing. In lead climbing, the climber ties into the rope and leaves the ground without a pre-threaded anchor above them.

As the climber advances upwards, the belayer gives them slack instead of taking slack so that the climber can clip into points of protection along the way.
In the event of a fall, the belayer brakes and catches the climber. In a lead climbing fall, the climber typically falls much further than in a top rope fall.
What’s a top-rope anchor?
A top rope anchor is an anchor system positioned at the top of a rock climb that holds the climbing rope. When properly built, the anchor is strong enough to support a falling climber’s weight.

The anchor system consists of multiple components. In some scenarios, the anchor is permanently fixed into the wall– this is the case for modern sport climbing and climbing gyms.
In other scenarios, the anchor point consists of the climber’s gear– this is typically the case at traditional crags where there is no fixed anchor hardware.
Components of a top rope anchor
There are many different types of anchors. Climbing anchors typically reflect the local climbing style and ethics regarding the presence or lack of fixed hardware. Regardless of what the anchor is built with, a few components remain synonymous across all anchor types.
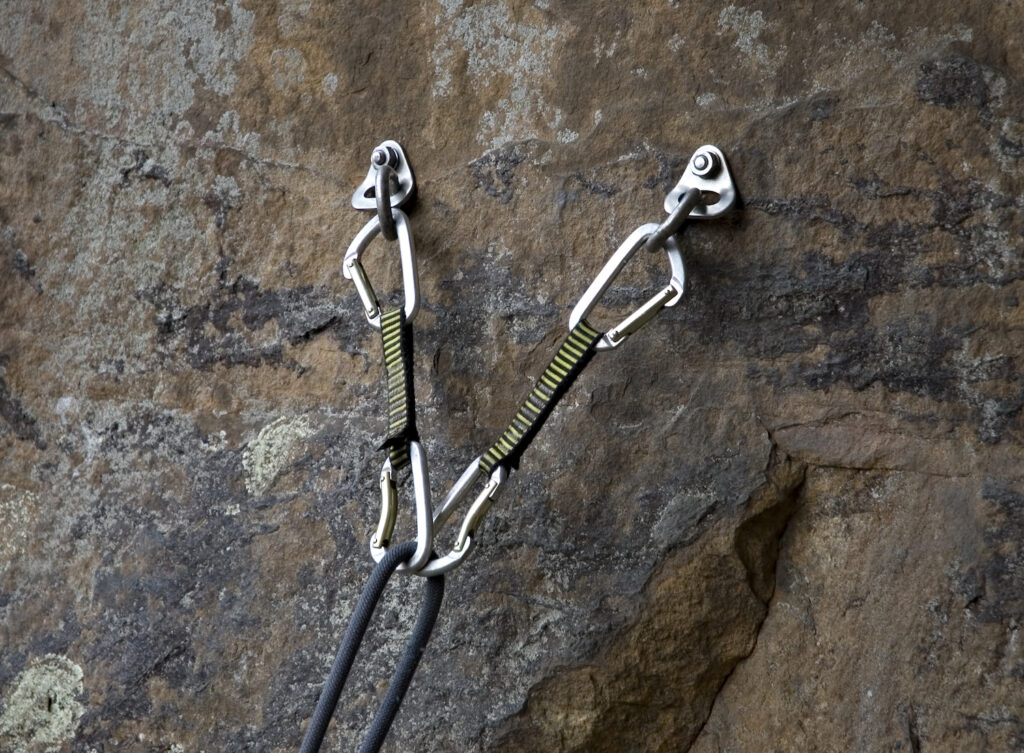
- Anchor points: the anchor points are the hardware or soft goods installed into the rock or wrapped around a boulder or tree trunk. For example, the anchor points at a modern sport climbing crag are two bolts. At a traditional crag, the anchor points could be camming devices placed in the rock or accessory cord wrapped around tree trunks.
- The legs of the anchor: the legs of the anchor are responsible for linking the various anchor points. Typically, there is one leg for every anchor point. The materials you use to create the legs of an anchor vary from quickdraws to slings or webbing.
- The master point of the anchor: a master point is created when all the legs of the anchor are brought together and equalized into a single point. Masterpoints look different depending on the anchor and climbing scenario. Anchor points can be made with knots and locking carabiners (or non-locking), a girth hitch, or quick links and chains.
How to build a top-rope anchor
Safety disclaimer: reading an article about building top rope anchors is a fantastic way to understand how the process works. However, it cannot replace supervised instruction by a licensed climbing guide. Anything you learn from this article should be practiced and mastered on the ground before approaching a cliff edge.
Wait to set up a top rope anchor in real rock and test it with a live load until you know your system is safe.

Suggested gear
As we stated above, there are many different types of anchors. The anchor you choose to build will depend on a few different components.
- The scenario: are you building an anchor to be climbed on all day? Or will your anchor only be used once before moving on to the following route?
- The route: does the route wander upwards? Or is the climbing direct with the fall line?
- The fixed hardware: are there bolts present? Do the bolts look rust-free and safe to use?
- The lack of fixed hardware: are there cracks, trees, or boulders you can use to build an anchor? Do the trees look healthy and robust enough? Does the boulder wobble?
Regardless of the type of anchor you build, we recommend investing in the following gear so you can start building anchors.
- Quickdraws
- Nylon or Dyneema slings of varying lengths
- Accessory cord cut in 16 to 20-foot (5 to 6-meter) lengths
- Static rope, no longer than 40 meters or 130 feet
- Non-locking carabiners
- Locking carabiners
Step-by-step instructions to set up a top roping anchor on two bolts
Outlining step-by-step instructions for the myriad of anchors a climber could build goes beyond the scope of this article.
To keep it simple, below are the instructions to build an anchor on two bolts using a long sling and two lockers after you’ve reached the top of the climb and have secured yourself with a tether to the anchor hardware.
- Clip one leg of the anchor into the bolt hanger beneath the existing hardware.
- Clip the second leg into the bolt hanger beneath the existing hardware.
- Pull down on the sling section connecting the two bolts. Do so in the direction of the load to create a v-shape with two legs.
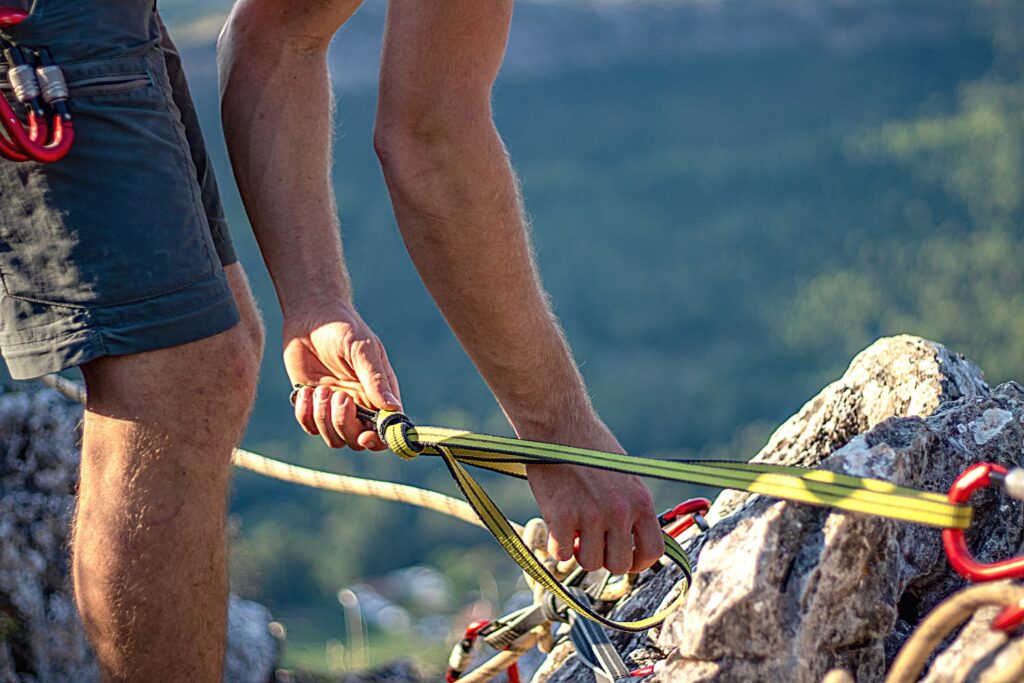
- Tie a figure-8 or overhand knot into the sling to create a master point.
- Clip two locking or non-locking carabiners in the opposite and opposite orientations so the gates of the carabiners face different directions.
- Clip the climbing rope into the masterpoint carabiners (and lock if using lockers).
- Double-check the entire system and be lowered.
How to clean a top-rope anchor
If you are building an anchor with your gear, then after you are done with the route, you have to clean the anchor so you can take your gear with you for the next climb.
Typically this is performed by the last climber in the group to try the route.
Cleaning an anchor is relatively simple. However, if performed incorrectly, a catastrophic accident can result. Therefore, we recommend proper instruction from a guide and practice on the ground.
There are various series of steps a climber can take to clean the anchor. However, regardless of how the cleaning gets done, common practice is the same– a climber performs a series of load transfers to clean an anchor.
Step-by-step instructions to clean an anchor and be lowered
- Secure yourself to the fixed hardware of the anchor using a personal tethering system, and report “in direct” or “safe.”
- Transfer your load off the climbing rope and onto your tether system by asking for “slack.”
- Once your tether is safe, remove the anchor gear from the wall and secure it to your harness.
- Pass a bight of rope or rethread the chains with the climbing rope.
- Clip the climbing rope to your belay loop using a bight knot and a locking carabiner or by retying your tie-in knot.
- Transfer your load back onto the climbing rope and off your tether by saying “take” or “tension.”
- Double-check the entire system.
- Be lowered by your belayer by saying “lower.”
Wrapping Up
Correctly building and cleaning anchors is a skill that requires practice. The best place to practice is on the ground and in a controlled environment.
The information we shared in this article is considered introductory. There are complexities to anchor building and cleaning that we did not include.
For more details, check out our other articles and hire a guide.


